It was Christmas 1996. The weather was cold and snowy. But that didn’t stop me from taking my mountain bike out for a ride — however short — bundled up in my warmest outerwear. That year, I got a pair of IRC Piranha Pro tires as a gift. I had to try them out as soon as they were mounted. That’s my oldest recollection of performing my own bike maintenance, and ever since then, I’ve savored my garage time.
Some cyclists loathe the regular upkeep our bikes require. That’s understandable. It can be time-consuming, difficult, and expensive. However, routine maintenance is really not that bad. The key is to plan ahead and know what to expect so your bike doesn’t end up neglected.
Whether they are an old pro or a newcomer to cycling, nearly everyone has a budget when they set out to buy a bike. Do they account for routine maintenance in that budget? I doubt it.
[newsletter]
So let’s dive into the basics of what to expect in a given year of routine bike maintenance. It goes without saying that these will all be general recommendations. If you ride more often (kudos!) or you’re battling through wet conditions (double kudos!), your gear will probably wear out faster. If you want to replace wear items with more expensive options — such as race tires or high-end components — maintenance will also be pricier.
We also won’t account for unexpected repairs that aren’t due to normal wear, like broken spokes, slashed tires, or bent disc brake rotors.
Okay, let’s head out to the garage and get started.
Easy-to-replace wear items

Tires
Of all the components on a bike, it’s easy for anyone to understand how tires get worn out. But how do you know when it is time to replace them?
Many modern road tires have wear indicators. You’ll find these on Specialized and Continental tires, for instance. They are usually small circular indentations in the middle of the tread. Once the tread wears to the point that these indents disappear, replacement is recommended. I’ve been able to get up to a couple thousand miles out of heavy-duty road tires. Lightweight racing tires will wear (and roll) faster. Rough road surfaces and lower tire pressure can also result in faster wear.
On knobby tires that you see on mountain, gravel, and cyclocross bikes, it’s not quite as easy to know when your rubber is toast. Generally, when the knobs get worn to the point where they are noticeably shorter and rounded, or the edges of the knobs are extremely ragged, it’s time to consider replacement. Experienced riders might notice decreased traction on loose dirt under heavy braking, while pedaling hard up a steep climb, or when cornering aggressively. Naturally, the center knobs of a tread will wear more quickly than side knobs.
This can be a matter of preference as well. Some mountain bikers don't care if their rear treads are worn down flat as long as they have side knobs for cornering. On the other hand, competitive racers might think twice about starting a major event on anything but brand-new tires.
[button]SHOP TIRES[/BUTTON]
Tech Tip: If you want to extend your tires’ life and you have the same tread/width front and rear, rotate your rear to front and vice-versa. The rear tire wears quicker than the front, so this will even out the wear and prolong overall life.
When the rear tire wears out, some riders will replace the front tire and move the old front tire to the rear. This way, the newer tire is on the front where traction and control are more important, and you only have to buy one tire at a time.
Estimated replacement cost: $50 per tire
Required tools or supplies: Pump, tubeless sealant (if needed), tire levers (if needed)
[product-block handle="park-tool-pfp-8-home-mechanic-floor-pump-blue-black"/]
Clipless pedal cleats
While tire wear is right under your nose on any given ride, clipless pedal cleats are out of sight, out of mind, unless you’re doing some sort of advanced bike yoga. However, if you neglect your cleats, you could end up with inconsistent pedal release or even knee injury.
Cleats pose another challenge as well: Some wear very fast and others last for months or even an entire season. Muddy conditions will also accelerate mountain bike cleat wear. If you walk around often in your road shoes, plastic cleats, such as those by Look or Time, will wear quicker.
Here are a few indications that your cleats are wearing out:
- You’re releasing from your pedals unexpectedly while sprinting or using a lot of body English.
- Your pedal/cleat interface is squeaky.
- Your feet feel unstable on the pedals.
Tech Tip: If you ride Crankbrothers mountain bike pedals, you’ll be able to visually identify cleat wear quite easily. The shoulders of the cleat will develop a groove from the pedal bars. That means it is time to replace your cleats. Unfortunately, since these cleats are brass, they wear much faster than steel cleats, like Shimano SPD.
Estimated replacement cost: $10-20 per pair of cleats
Required tools or supplies: Allen wrench (usually 4mm), grease for cleat bolts
Medium-difficulty wear items

Chain
One of the most costly mistakes you can make with bike maintenance is to neglect your chain. As it wears, it stretches. When it stretches, it wears your cassette and chainrings unevenly. When your entire drivetrain wears beyond the point of no return, you have a costly repair on your hands — it can be five times the cost of a new chain alone.
I’ve found that most of my road bike chains last for about a season, which can be anywhere from 1,000-3,000 miles of riding. On a mountain bike, dust, mud, water, and higher torque can accelerate wear, so about 500-1,000 miles is more realistic.
When in doubt, check your chain wear. Most bike tool companies offer chain-checker tools. Or, if you’re handy with a ruler, you can measure your chain to roughly gauge its wear. Each full chain link (inner and outer link) should be one inch long.
I could write an entire article about the nuances of checking chain wear. But why bother? Dave Rome already wrote it for CyclingTips. So if you want to really geek out, read his story.
Tech Tip: I use Strava to track wear on my bike parts. Yes, this is a little obsessive, but especially for chain wear, it’s nice to have an automatic tally of mileage. Under “My Gear” you can create a bike profile and add components to it. Once I get to 1,000 miles, I start to check for wear periodically so it doesn’t get too bad.
Estimated replacement cost: $35
Required tools or supplies: Chain checker, chain breaker and/or quick-link removal tool
[product-block handle="park-tool-ct-3-3-5-12-speed-chain-tool"/]
Cables and housing
You don’t know how dirty your windows are until you bust out the Windex, and similarly, you don’t know how sticky your shift cables and housing are until you replace them.
If you’re having trouble getting your shifting adjusted or your shift lever feels heavy, your cables are probably cooked. Always replace cables and housing together. The housing holds a lot of grit and grime, and there’s no sense in doing the job halfway.
Unless you ride in wet conditions frequently, cables and housing usually last about a season. If you have a single-chainring bike, you’re in luck! You only need to replace one cable. If you have electronic shifting, then you’re even better off — no maintenance is required apart from charging the battery when it gets low.
Tech Tip: If your cables are routed internally, do a little research before you dive into the replacement. Some frames run full-length housing through the frame. If that’s the case, it might be easier to replace but will require more housing than is externally visible. The cables and housing might smoothly run through a tube in the frame that guides the housing in and out, which makes replacement a breeze. But sometimes, especially on older frames, it’s much more challenging to fish out the cables from inside the frame tubes. If this is the case, tools like magnets, utility picks, and internal cable routing kits can make your life a lot easier.
Estimated replacement cost: $15
Required tools or supplies: Cable/housing cutter, Allen wrenches, cable routing kit (if necessary)
High-difficulty wear items

Brakes
I’ve categorized brakes as a high-difficulty repair because most bikes are now coming with hydraulic disc brakes. If you still have caliper brakes (and I do on my road bike!), this maintenance will be far easier.
Similar to shifting, if you have cable-actuated caliper brakes, the cables and housing will get gunked up and need replacement. Sometimes that’s once per year, sometimes less often if you’re in a dry climate. Brake pad replacement intervals will also vary. Usually, rim brake pads have a wear line to indicate when it’s time for a replacement. The rubber cartridge pads slide out and in pretty easily once you remove the pin that secures them.
Now, on to the more challenging side of brake maintenance: hydraulic discs.
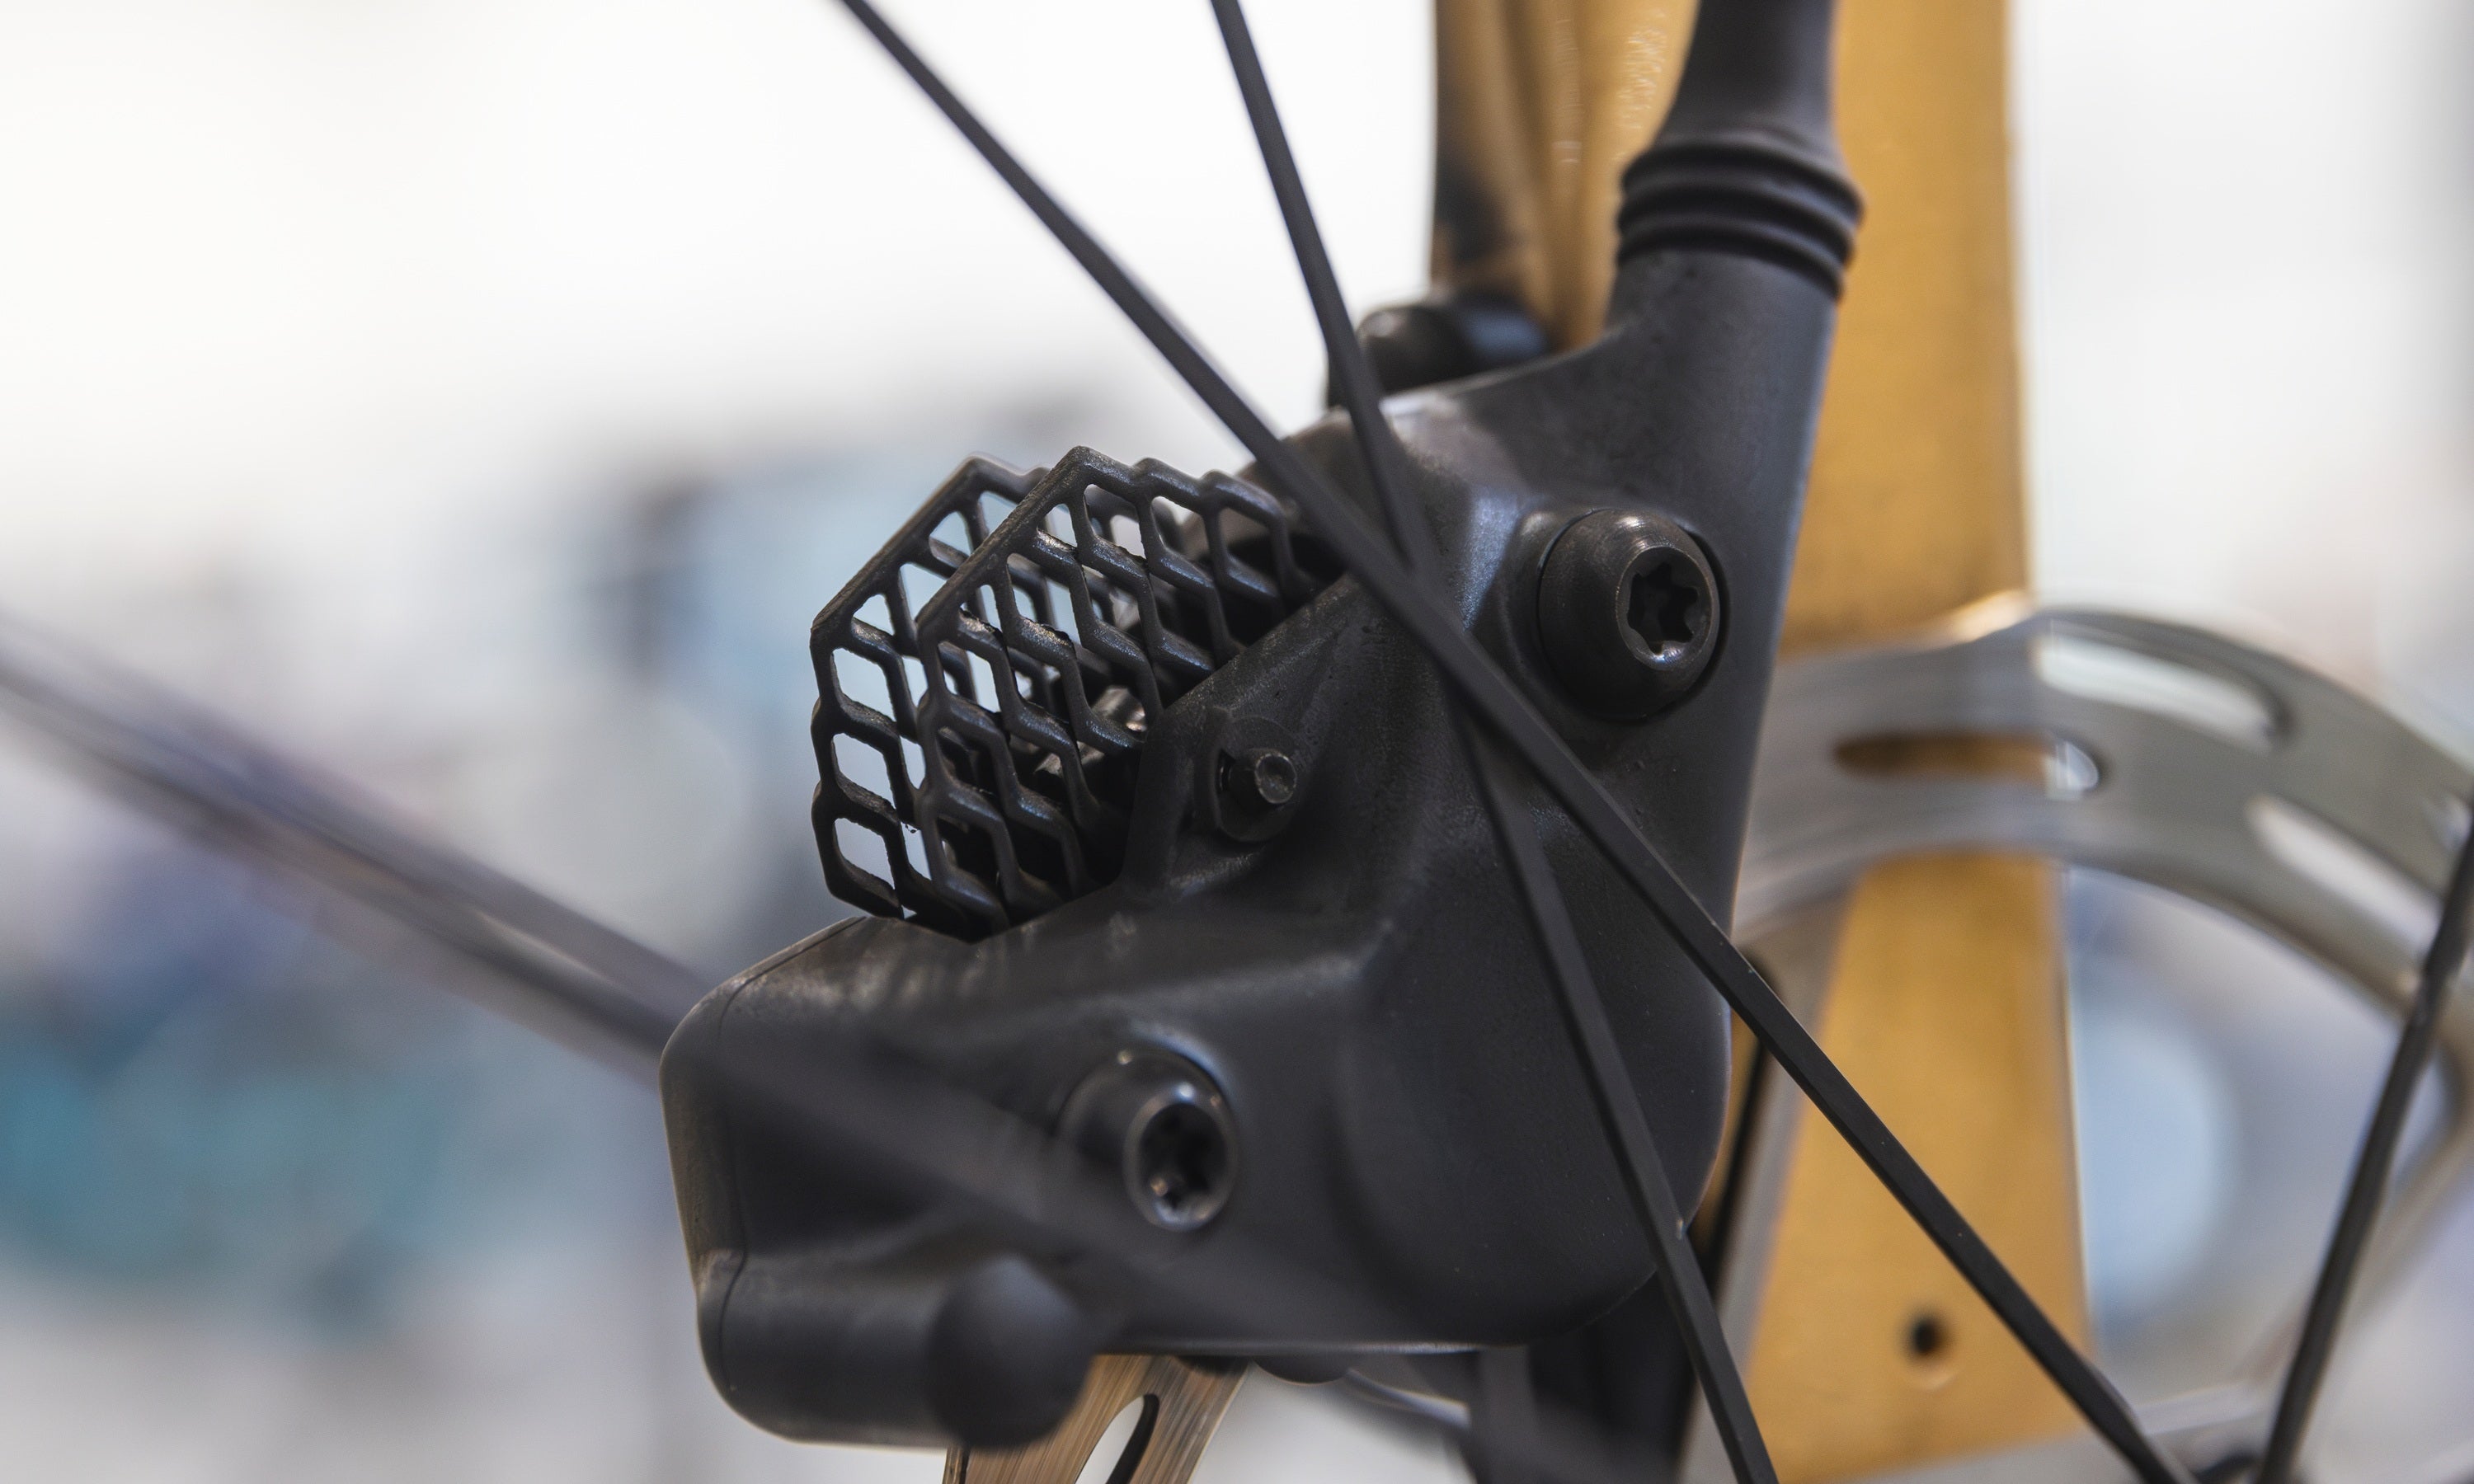
Pad replacement is usually quite straightforward with discs. Most are held in place by a pin, and once that’s removed, you can pull out the pads to assess wear. Unfortunately, they won’t have wear indicators, so it’s a bit of a judgment call about when it’s time for a replacement. Above all, you don’t want the pad material to wear down to the point where the rotor is at risk of rubbing on either the pad spring or the pads’ metal backing.
Bleeding hydraulic brakes, on the other hand, is not so easy for the average home mechanic. But if you’re up for it, there are plenty of how-to videos online that will guide you through the process.
You will need special tools to perform the bleed, and they are specific to each brand of brake. The general idea is that you’re pushing fresh hydraulic fluid into the system and eliminating bubbles from the hydraulic line. Air bubbles in the system lead to a mushy brake feel that can be unpredictable as the brakes heat up during use.
Tech Tip: Regardless of whether you have the courage to bleed your own brakes, any rider should be able to tell if their brakes need service. If the brake feel is spongy or inconsistent, especially when the bike is hung by its front wheel, it's time for service. Expect to do this about once per year.
Estimated brake pad replacement cost: $20-40
Estimated cost for complete brake service at a shop: $100
Required tools or supplies: Allen wrench, needle-nose pliers, brake bleed kit, brake fluid (per manufacturer specifications).
Suspension
A mountain bike’s suspension components are some of the most challenging bike parts to maintain, but unfortunately, they also can make the biggest difference in terms of performance.
Chances are, you’re not equipped to overhaul suspension. If you are, then you probably should be the one writing this guide, not me. But even if you end up leaving suspension service to the professionals, it’s good to have an idea of what the key wear items on your suspension components are.
Seals: Starting at the top, we have the rubber wipers that fit around your fork or shock’s stanchions, keeping dust, dirt, water, and grime out of the shock body. These are some of the easiest parts to replace and also the ones that need the most frequent service to keep your suspension running smoothly.
Bushings: These plastic sleeves live inside your fork, usually midway down each leg. The stanchions slide inside of bushings. As these parts wear, the fork might begin to feel clunky, sort of like a loose headset. A special tool is required to remove and replace bushings. Fortunately, this service is rarely needed more than once per year.
Oil bath: The lower legs of most forks have a small quantity of oil splashing around to keep things lubricated. When a basic service is performed (often known as lower-leg service), this oil is replaced, as are the seals. Rear air shocks usually also have an oil bath.
RockShox recommends lower leg service on forks after a maximum of 50 hours of riding. It recommends damper and spring service for most modern forks after 200 hours maximum. Fox only has one service interval for its products: after 125 hours of riding or annually, whichever comes first.
Tech Tip: This might be borderline obsessive, but consider writing down and tracking your suspension settings over the course of a season. Track sag, air pressure, the number of clicks of rebound damping and compression damping (if applicable) you're using. Note changes you make along the way. If your suspension starts to feel harsh, possibly leading you to change your spring or damper settings to compensate for the additional friction, it is likely time for service.
Maintenance budget
Here are a few examples of annual bike maintenance budgets. Yours will vary depending on how much you ride and whether you're willing to do the maintenance yourself. And don't let the numbers get you down. If your bike needs regular maintenance on the wear items, that means you're getting out and riding a lot, and that's the whole point, right? If you need more help, store-based bike service centers like TPC’s Louisville/Denver bike maintenance center, can help fill in the gaps with everything from tuning your bike, washing & lubing, and even performing a full overhaul.
Road bike
Normal use, normal conditions, no suspension, DIY:
Tire: $50
Chain: $35
Cables/housing: $10
Cleats: $20
Disc brake pads: $20
Miscellaneous shop consumables: $50
TOTAL: $185
Mountain bike
Heavy use, bad conditions, little DIY:
Tires: $100
Chain: $35
Cables/housing: $25
Suspension service: $300
Cleats: $20
Disc brake bleed and pads: $100
Miscellaneous shop consumables: $50
TOTAL: $630
Shop consumables:
Cleaner for general wash (dish soap is fine!): $5
Degreaser (such as Simple Green): $5
Chain lube: $20
Tubeless sealant: $20
TOTAL: $50


