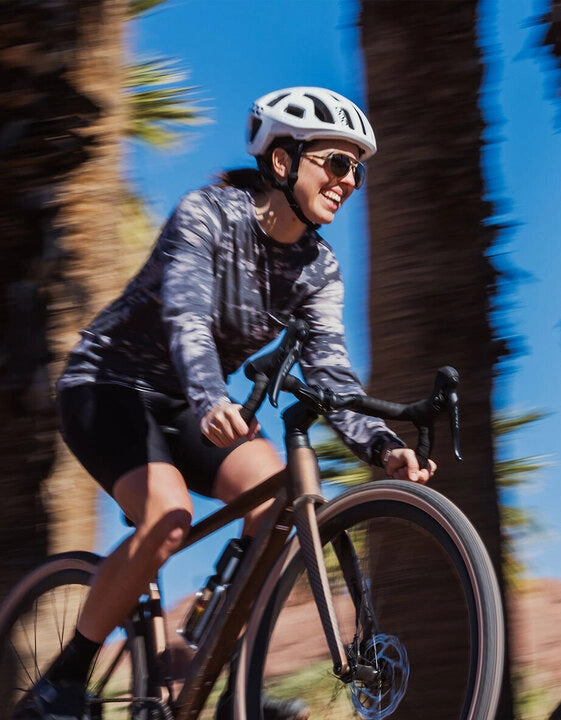
Improving comfort lets you ride farther and faster.
Is your body taking a beating every time you ride? Gravel roads can be filled with potholes, rocks, and washboard surfaces that will batter your hands, feet, and backside, which can suck all the fun out of riding.
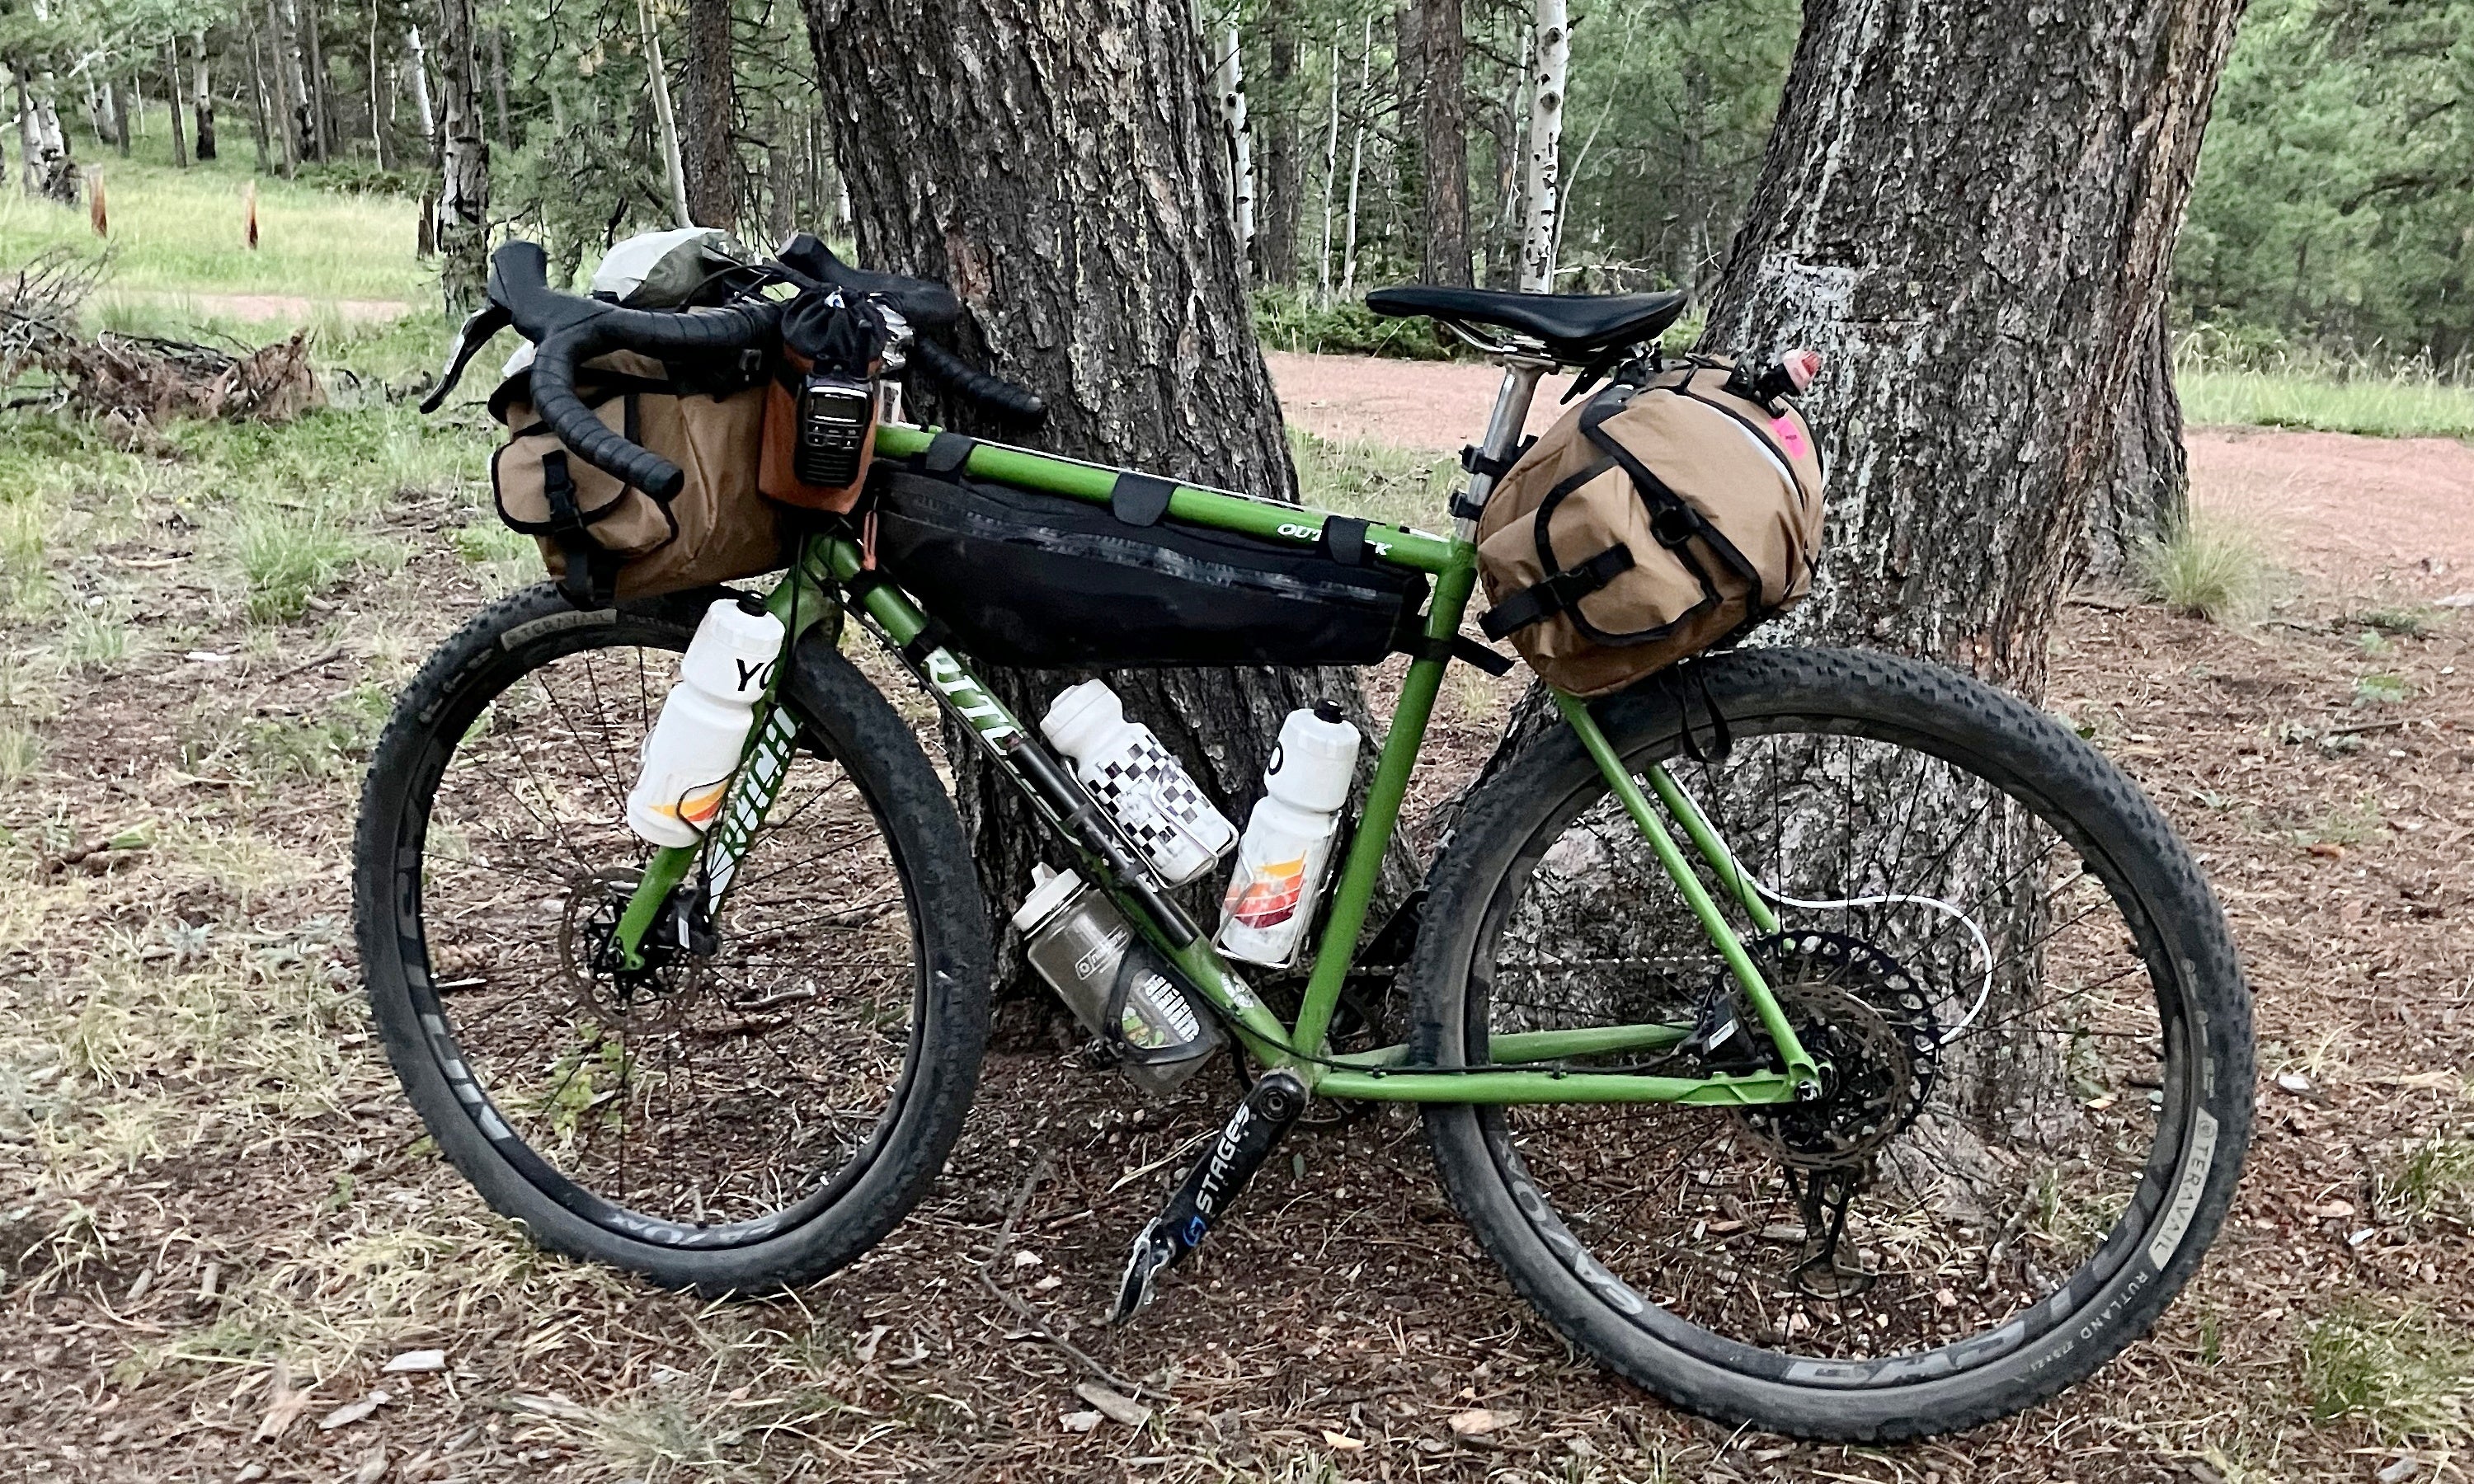
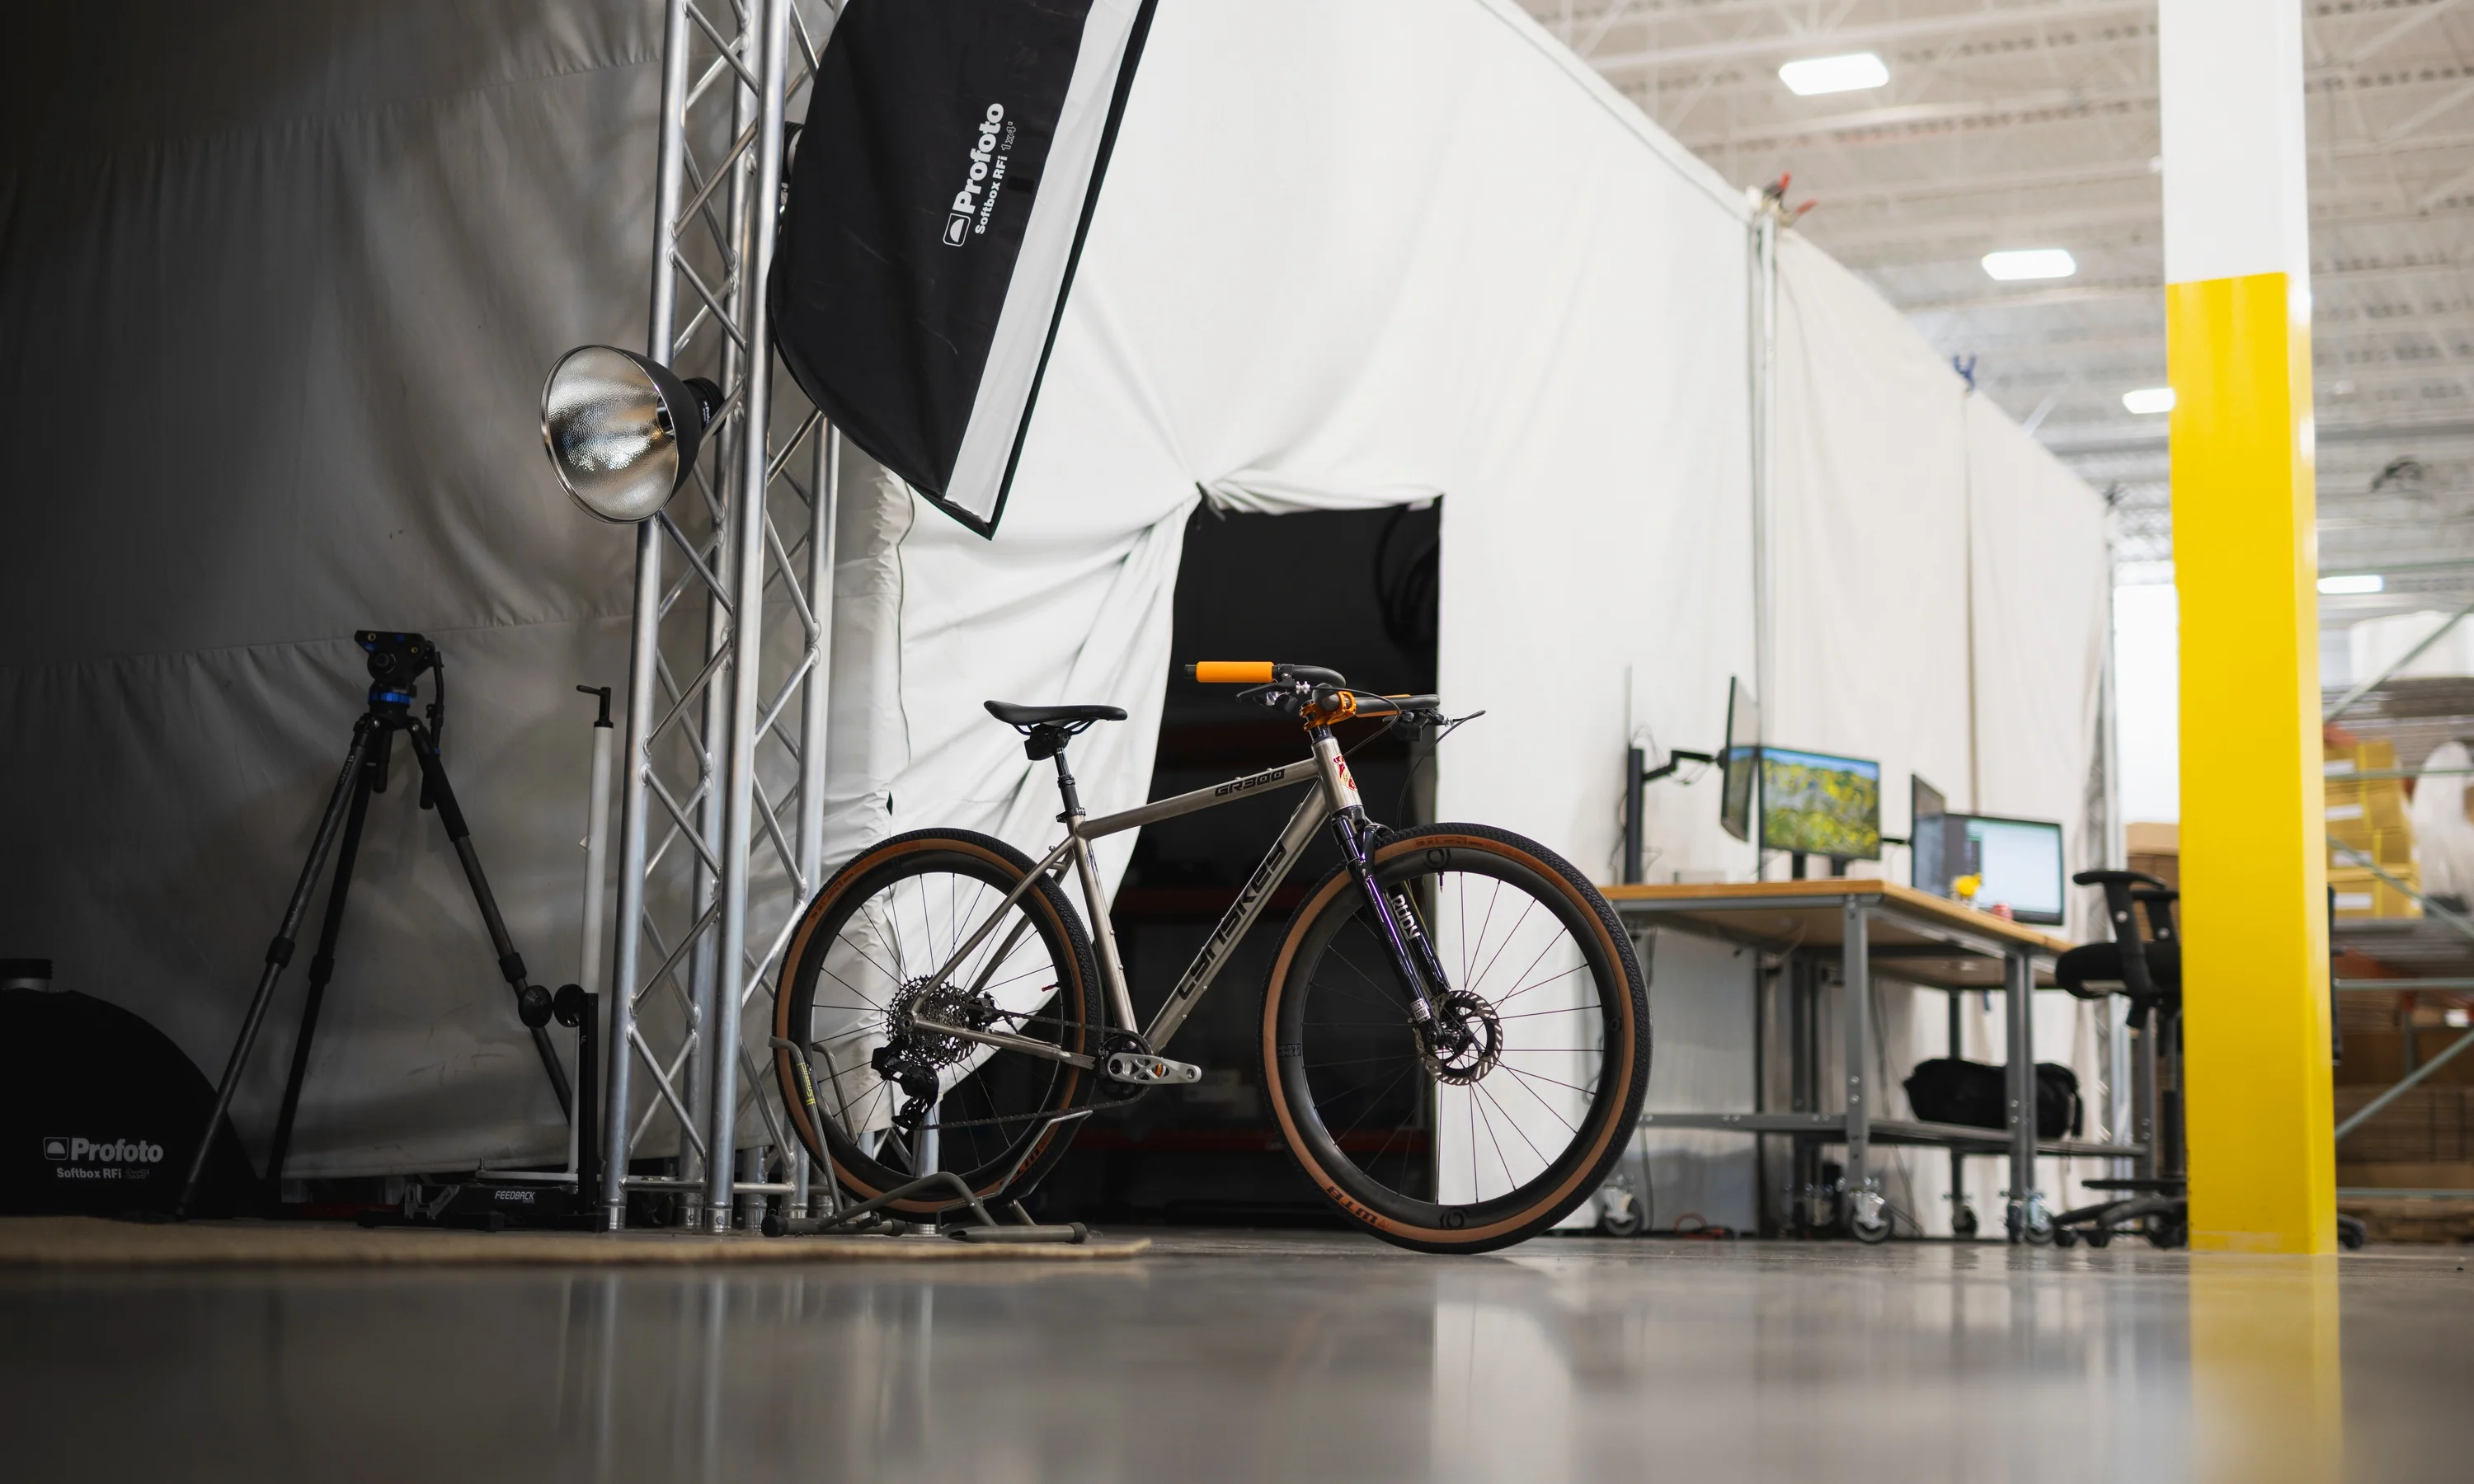
Fortunately, there are plenty of upgrades and modifications you can make to your gravel bike that will vastly improve your comfort. These are the upgrades and changes I’ve made to my own gravel bikes over the years that have allowed me to take on everything from rough-and-tumble weekend adventures to epic 200-mile gravel races. (These can work for road bikes too!)
[button]Shop Gravel Bikes[/button]
The Quick Run-Down for Improving Gravel Bike Comfort
- Use Lower Tire Pressures and Run Wider Tires
- Switch to Cushy Handlebar Tape
- Try High-End Saddles and Chamois
- Upgrade to Carbon Handlebars and Seatposts
- Add a Suspension Stem and Seatpost
- Go All Out With a Suspension Fork
- Get a Professional Bike Fit
Use Lower Tire Pressures and Run Wider Tires
 Tires are always the place to start because they have the biggest impact on your comfort. If your bike feels chattery on rough terrain, or you feel painful jolts anytime you hit potholes, cracks, or square edges, then you might be running too much pressure. Try lowering your tire pressure a couple of PSI at a time until you find a tire pressure that is able to absorb bumps and vibrations without feeling too squishy.
Of course, this requires a pump with a tire pressure gauge or a separate gauge. If you don’t own some form of tire pressure gauge already, it’s an essential piece of equipment for any serious cyclist.
[product-block handle="park-tool-pfp-8-home-mechanic-floor-pump-blue-black"/]
If you want to learn more about how tire pressure affects your ride, check out our beginner’s guide to tire pressure. If you just want a tire pressure starting point, I always recommend using Silca’s excellent “Professional Tire Pressure Calculator.” You input your weight (plus your bike), tire width, and terrain type and it will give you a number you can use as a baseline.
The other half of this equation is the tires themselves. If you’re not already set up tubeless, then doing that will also let you run lower pressures. So will running wider tires, which have more air volume, so you can run comparatively lower pressures than you can on narrower tires. Riders seeking to maximize comfort should run the widest tire their bike can fit. For many modern gravel bikes that means tires in the 40-45mm range. If you can go even bigger, then lucky you!
Can you go too low with tire pressure? Yes.
If your tire pressure is so low that your bike bounces while you pedal, feels sloppy in corners, or the tire bottoms out when you hit bumps or potholes, your pressure is too low. In the worst case, you can burp your tire in a corner, which will definitely ruin your ride. Add a couple of PSI at a time until the bouncing, squirminess, or bottom-outs stop. If you’re as low as you can go but want to go lower, you might be a prime candidate for tire inserts.
[product-block handle="cushcore-gravel-cx-tire-insert-set"/]
Tire inserts like CushCore Gravel and Vittoria Air-Liner let you run super low pressures (assuming you’re running tubeless). The insert supports the tire sidewall during cornering and protects the rim by preventing the tire from bottoming out. When I run Cushcore inserts, I can drop my tire pressure an additional 2-5 PSI. That might not sound like much, but it can make all the difference.
Switch To Cushy Handlebar Tape
 Do your hands feel achy? Does hitting bumps and potholes sting? The first thing I do every time I get a new gravel bike is swap the handlebar tape to something more cushioned that will absorb bumps and vibration more effectively.
[product-block handle="lizard-skins-dsp-3-2mm-bar-tape"/]
My go-to bar tape for the last few years has been Lizard Skins DSP 3.2mm tape. It’s super tacky and soft without feeling crazy thick. If you want something more low profile, I like the 2.5mm tape too, and use that on my road bike.
[product-block handle="wolf-tooth-supple-bar-tape-black"/]
But if you want maximum cushion, I don’t think anything can beat Wolf Tooth’s Supple Bar Tape. It’s a silicone tape that’s super thick. It will make your bars look and feel pretty beefy, but sometimes, that’s exactly what you want and need.
Try High-End Saddles and Chamois

Saddles can be tricky. Just because a saddle has a lot of padding doesn’t mean it’ll be comfortable — it needs to fit you. Unfortunately, finding the perfect saddle often requires experimentation. (P.S. TPC’s no-hassle return policy makes testing different saddles easy.)
If you need some guidance to find the perfect fit, contact our expert Ride Guides or check out Our Guide to Specialized Saddles. Specialized saddles are our most popular saddle, but the principles that go into selecting a Specialized saddle are similar for all saddles since many of the top brands use the same basic saddle shapes.
The most important factor is that the saddle is wide enough for your sit bones. Then, it needs to have the right amount of curve to support your riding position. Upright riders generally need flatter saddles while riders with lower, racier positions generally need some curve. If your saddle fits properly, chances are, you actually won’t need much padding at all to feel comfortable.
[product-block handle="specialized-power-pro-mirror"/]
If you do want some extra plushest though, many brands are beginning to use 3D-printed foam like Specialized’s Mirror saddles and Fizik’s Adaptive saddles. In my opinion, these saddles are the future. They’re stunningly comfortable (again, as long as the fit is right). The downside is that they’re also stunningly expensive (for now). But for riders who suffer from excessive sit bone pain or saddle sores, they can’t be beaten.
The other half of the saddle comfort equation isn’t technically part of the bike, it’s the chamois in your cycling shorts. Unfortunately, like with saddles, finding the perfect chamois might take some experimentation. Some riders like thick and plush. Others prefer thin and firm. Some prefer no chamois at all. In general, any high-end chamois used by reputable apparel brands will be pretty good.
[product-block handle="poc-pure-bib-shorts-vpds-uranium-black-uranium-black-1"/]
For my own long-distance gravel adventures, I’ve been super happy with the high-end chamois used in Rapha Pro and Brevet, Velocio Concept and Luxe, and POC VPDS bib shorts. I’ve felt very comfortable in all of these on 100+ mile gravel rides. For the really rough stuff, I like the silicone inserts in POC’s VPDS chamois which help absorb extra vibration.
[product-block handle="assos-mille-gt-mens-bib-shorts-c2"/]
Assos has also long been the gold standard for chamois, and these days, their bibs are what I choose for my longest road and gravel rides.
Upgrade to Carbon Handlebars and Seatposts
 The Ergon CF Allroad / Canyon VCLS is the comfiest I've used.
This is a general recommendation, but if your bike has alloy handlebars or an alloy seatpost, consider switching to carbon. Carbon bars and seatposts absorb a bit more vibration, and many gravel-specific options tend to flex a bit more than their alloy counterparts.
I use Easton’s EC70 AX bars on most of my gravel bikes, but the most compliant carbon handlebars I’ve ever ridden are actually Lauf’s Smoothie carbon handlebars. Some riders might even think they’re too flexy. I can bend and flex the Smoothies just by pressing down with my hands in the parking lot.
As for seatposts, I’d recommend the Ergon CF Allroad Pro Carbon seatpost. This seatpost uses a very unique leaf spring design and is the most compliant rigid post that I’ve ever ridden. Canyon’s VCLS 2.0 CF seatpost is essentially the same thing. If you want something less kooky looking, I also like Syntace’s P6 Carbon HiFlex seatpost which has a high amount of flex built into a more standard-looking post.
Add a Suspension Stem and Seatpost
 A Cane Creek eeSilk+. Photo: Cane Creek
Is carbon not cushy enough for you? Suspension stems and seatposts are the next step. While carbon bars and seatpost provide a subtle amount of vibration damping and bump absorption, the comfort improvements provided by suspension stems and seatposts are much more pronounced. They generally use linkages and elastomers to provide around 20-30mm of travel.
[product-block handle="cane-creek-eesilk-suspension-seatpost-carbon-35mm-travel"/]
There are two brands leading the charge in this department: Cane Creek and RedShift. Cane Creek’s eeSilk and Thudbuster seatposts have been around a long time and have become more refined over the years. I use the eeSilk+ Carbon seatpost on my own bike and love how it makes rough terrain disappear beneath me.
[product-block handle="cane-creek-eesilk-aluminum-stem-31-8mm-clamp-6-degree-black"/]
I don’t use the eeSilk stem (because I have a suspension fork) but I tend to recommend the eeSilk stem over the RedShift ShockStop because it uses a lever that allows you to instantly tune the firmness while riding. Both work very well in rough terrain though, and I know a few riders racing on the ShockStop stem at big events like Unbound Gravel.
Go All Out With a Suspension Fork
 Suspension shines on rough terrain. Photo: Travis Engel/The Radavist.
If you want ultimate comfort on your gravel bike, a suspension fork is the final frontier. Once you add one, you’re pushing your gravel bike into mountain bike territory. But the great thing about modern gravel suspension forks is that they weigh a lot less and have less travel than mountain bike forks so they’re much more efficient and they don’t drastically change your bike’s geometry.
I already did a full write-up on whether gravel bikes need suspension forks, so I won’t go into too much detail here. The gist is, if you’re riding super rough terrain, or you have preexisting hand injuries or other issues (like me), then a suspension fork is the best way to take the edge off.
[product-block handle="rockshox-rudy-ultimate-race-day-700c-fork-qwiksand"/]
I use a lightweight (and weird-looking) Lauf Grit fork which uses carbon leaf springs and has cured a lot of the hand pain I used to experience on my long gravel rides. Air forks like the RockShox Rudy, Fox 32 Taper-Cast, and MRP Baxter, weigh a bit more than the Lauf but are even better at soaking up harsh impacts. Suspension forks work, but they are expensive and heavy, so I consider them a last resort for gravel.
Get A Professional Bike Fit

Many experienced riders would probably argue that a professional bike fit should be number one on this list. It’s possible to get your bike set up at home by feel or by using YouTube fit videos, but there are some more subtle nuances to bike fit that most riders probably aren’t aware of. A good bike fit can prevent common issues like knee pain, lower back pain, and numbness. Many fitters can also help you find an ideal saddle.
Not all bike fits are created equal. Having a random shop employee guestimate your saddle height isn’t the same as getting fit by an experienced fitter using motion capture technology. Personally, I’m a fan of Retul’s high-tech fit methodology, and getting a Retul bike fit a couple of years ago made a huge improvement to my comfort on the bike. With my lower back and hand issues, I wouldn’t have been able to finish many of the huge events I’ve been racing without a good fit.
[button]Shop Gravel Bikes[/button]


