After picking the right frame size and setting your saddle height, adjusting your bike stem is the most important part of dialing in your fit. If your bike’s cockpit feels too stretched out, cramped, too high, or too low, try tweaking your stem. It’s also useful to know how to adjust a stem if you ever need to straighten out crooked handlebars after a crash. (Hopefully, you’ll keep the rubber side down!)
Here is how a bike stem works and how to adjust or change the stem on any modern road, gravel, or mountain bike.
[button]SHOP STEMS[/button] | [button]SHOP BIKES[/button]
Bike stems explained
Before we get started, let’s cover the basic anatomy of a stem, specifically a modern “threadless” stem. Modern threadless stems will look similar to the stem shown here. If you’re riding a bike made within the last 20 years, this should be the type of stem on your bike.
Note: this guide does not apply to proprietary or integrated stems found on some aero road bikes.
 Faceplate: This part of the stem holds the handlebars. It’s attached to the stem using two or four bolts that thread directly into the stem. Most modern stems are designed to hold either 31.8mm or 35mm handlebars.
 Steerer clamp: This is where the stem attaches to the bike. It clamps the steerer tube of the fork and usually has two pinch bolts. Most modern stems are designed to clamp standard 1 1/8” steerer tubes.
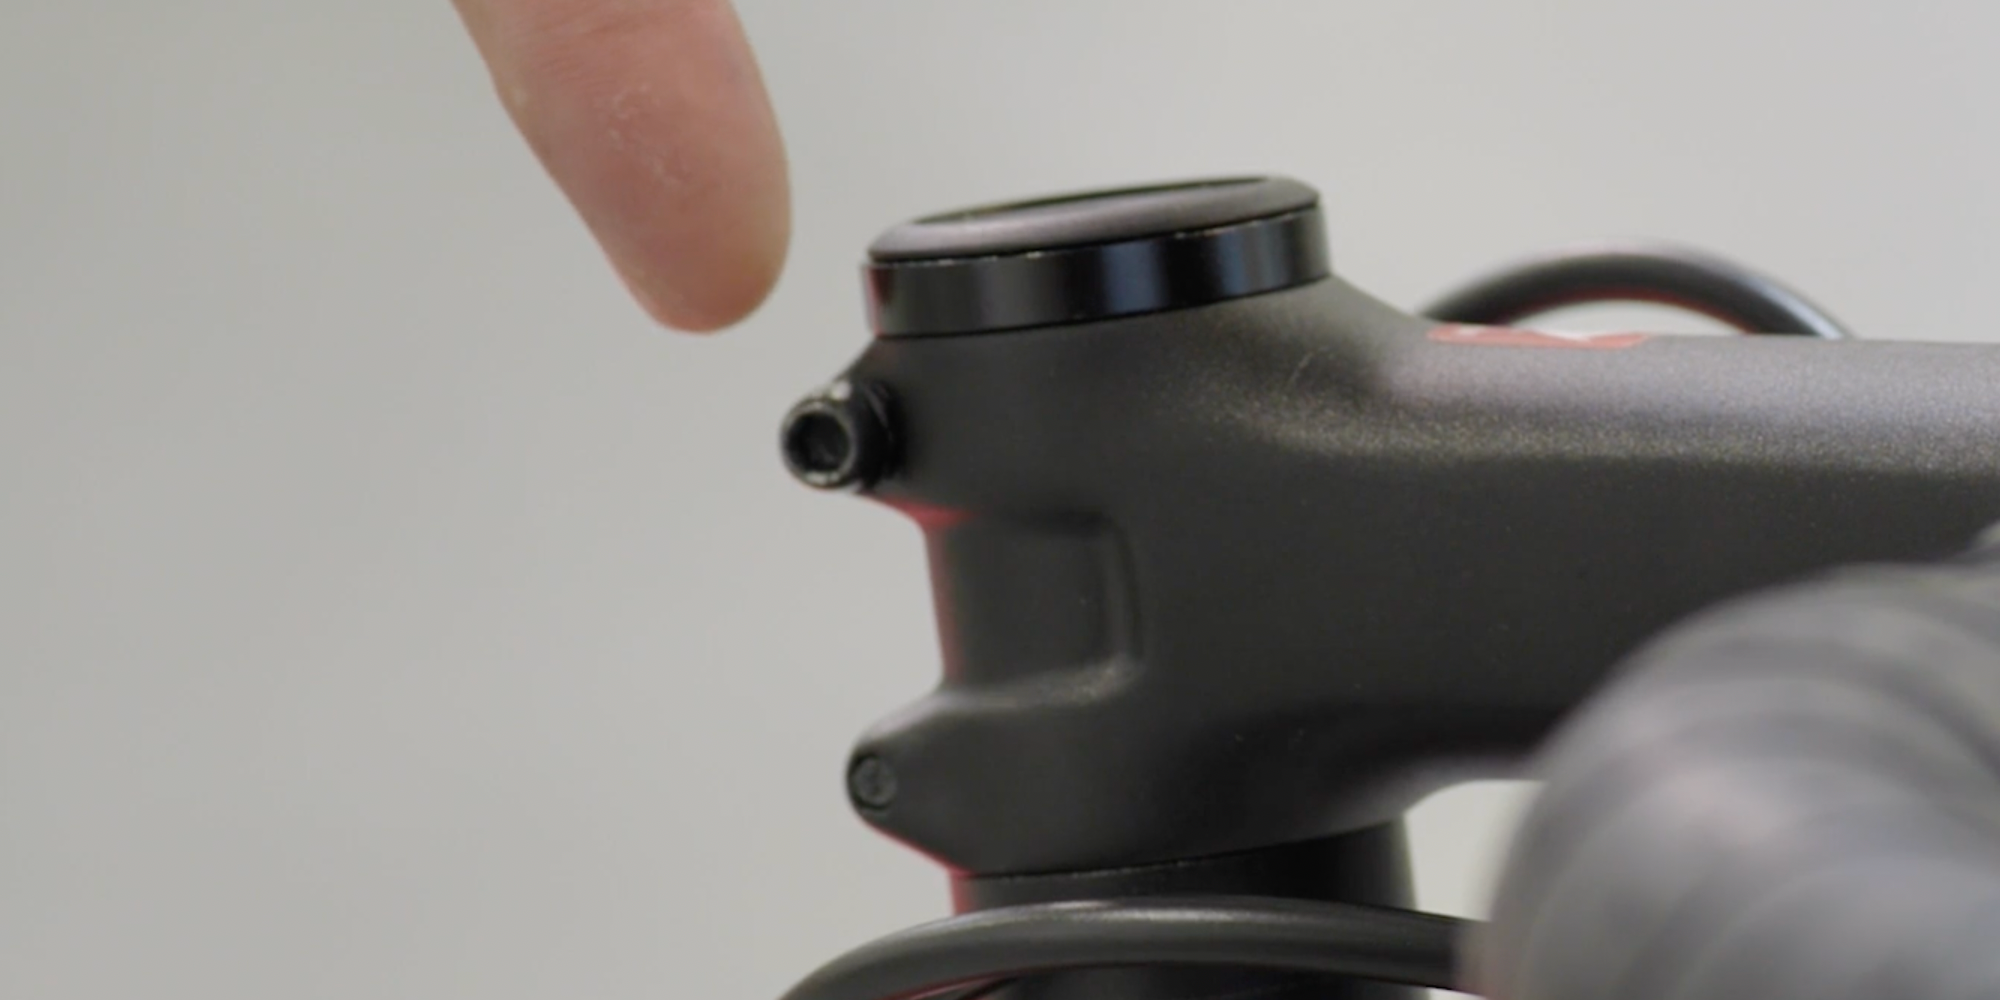
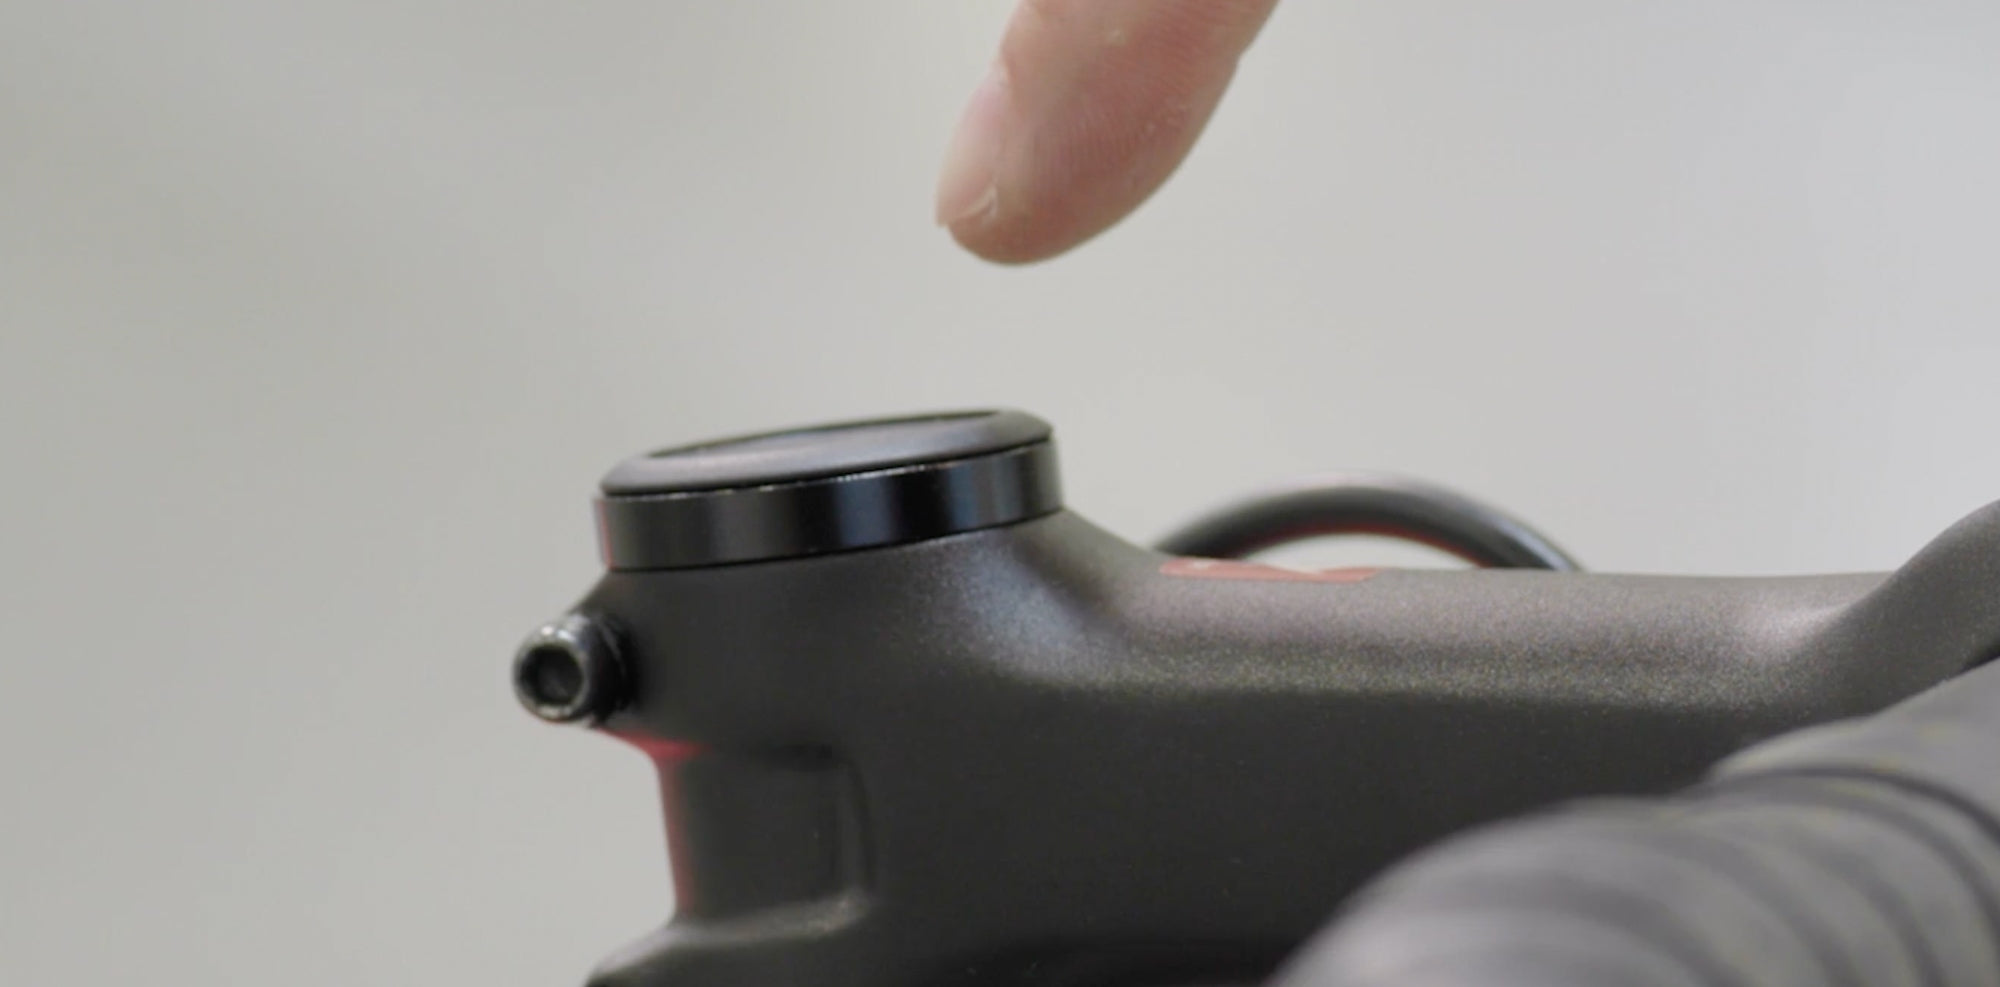 Top cap: Though technically not part of the stem, we also need to be familiar with the top cap and top cap bolt. The top cap is used to preload the headset (the bearings inside your bike’s head tube that allow the fork to steer) and eliminate headset play before tightening the stem’s steerer clamp pinch bolts.
 Spacers: Steerer tube spacers also aren’t technically part of the stem, but are essential for adjusting the height of the stem. Most bikes will come with some spacers installed above or below the stem.
Tools needed
-Hex wrenches
-Torque wrench
[product-block handle="bondhus-ball-end-l-hex-wrench-set-1"/]
To adjust or change a stem, you will need one or two hex wrenches. Most stems and top cap bolts use 4mm or 5mm hex bolts. Some stems (Zipp stems, for example) will require a T25 Torx wrench.
[product-block handle="pedros-fixed-torque-driver"/]
It's always a good idea to use a torque wrench when tightening your stem bolts, especially if you have carbon handlebars or a fork with a carbon steerer. Over-tightening bolts will damage carbon components.
[newsletter]
How to remove and install bike handlebars
 To remove handlebars, simply remove all the bolts from the stem faceplate. This will separate the faceplate from the stem and free your handlebars. You can allow the handlebars to dangle from the cables to continue working on the stem, but ensure they don’t get twisted or scratch your frame or other components.
 If you want to flip the stem or replace it entirely, follow the instructions in the “How to remove a bike stem and adjust handlebar height” section below.
When reinstalling the faceplate and handlebars, tighten the faceplate bolts in an X-pattern to ensure they are tightened evenly. Unless the stem manufacturer states otherwise, make sure the gap between the faceplate and stem is equal top and bottom. Use a torque wrench to torque the faceplate bolts to the recommended spec (usually 5 Newton meters).
You can also simply loosen your stem bolts to adjust your handlebar angle and tighten them back up when you’re happy with the new position.
Note: If you are installing carbon handlebars, apply carbon assembly paste where the handlebars contact the stem.
How to remove a bike stem and adjust handlebar height
You can adjust handlebar height without removing the handlebars. You will only need to remove the handlebars if you are flipping the stem or replacing it entirely. I prefer doing this with the bike on the ground. This makes it easier to align the handlebars at the end, and it keeps the fork from falling out of the frame when you loosen the steerer clamp bolts and remove the top cap.
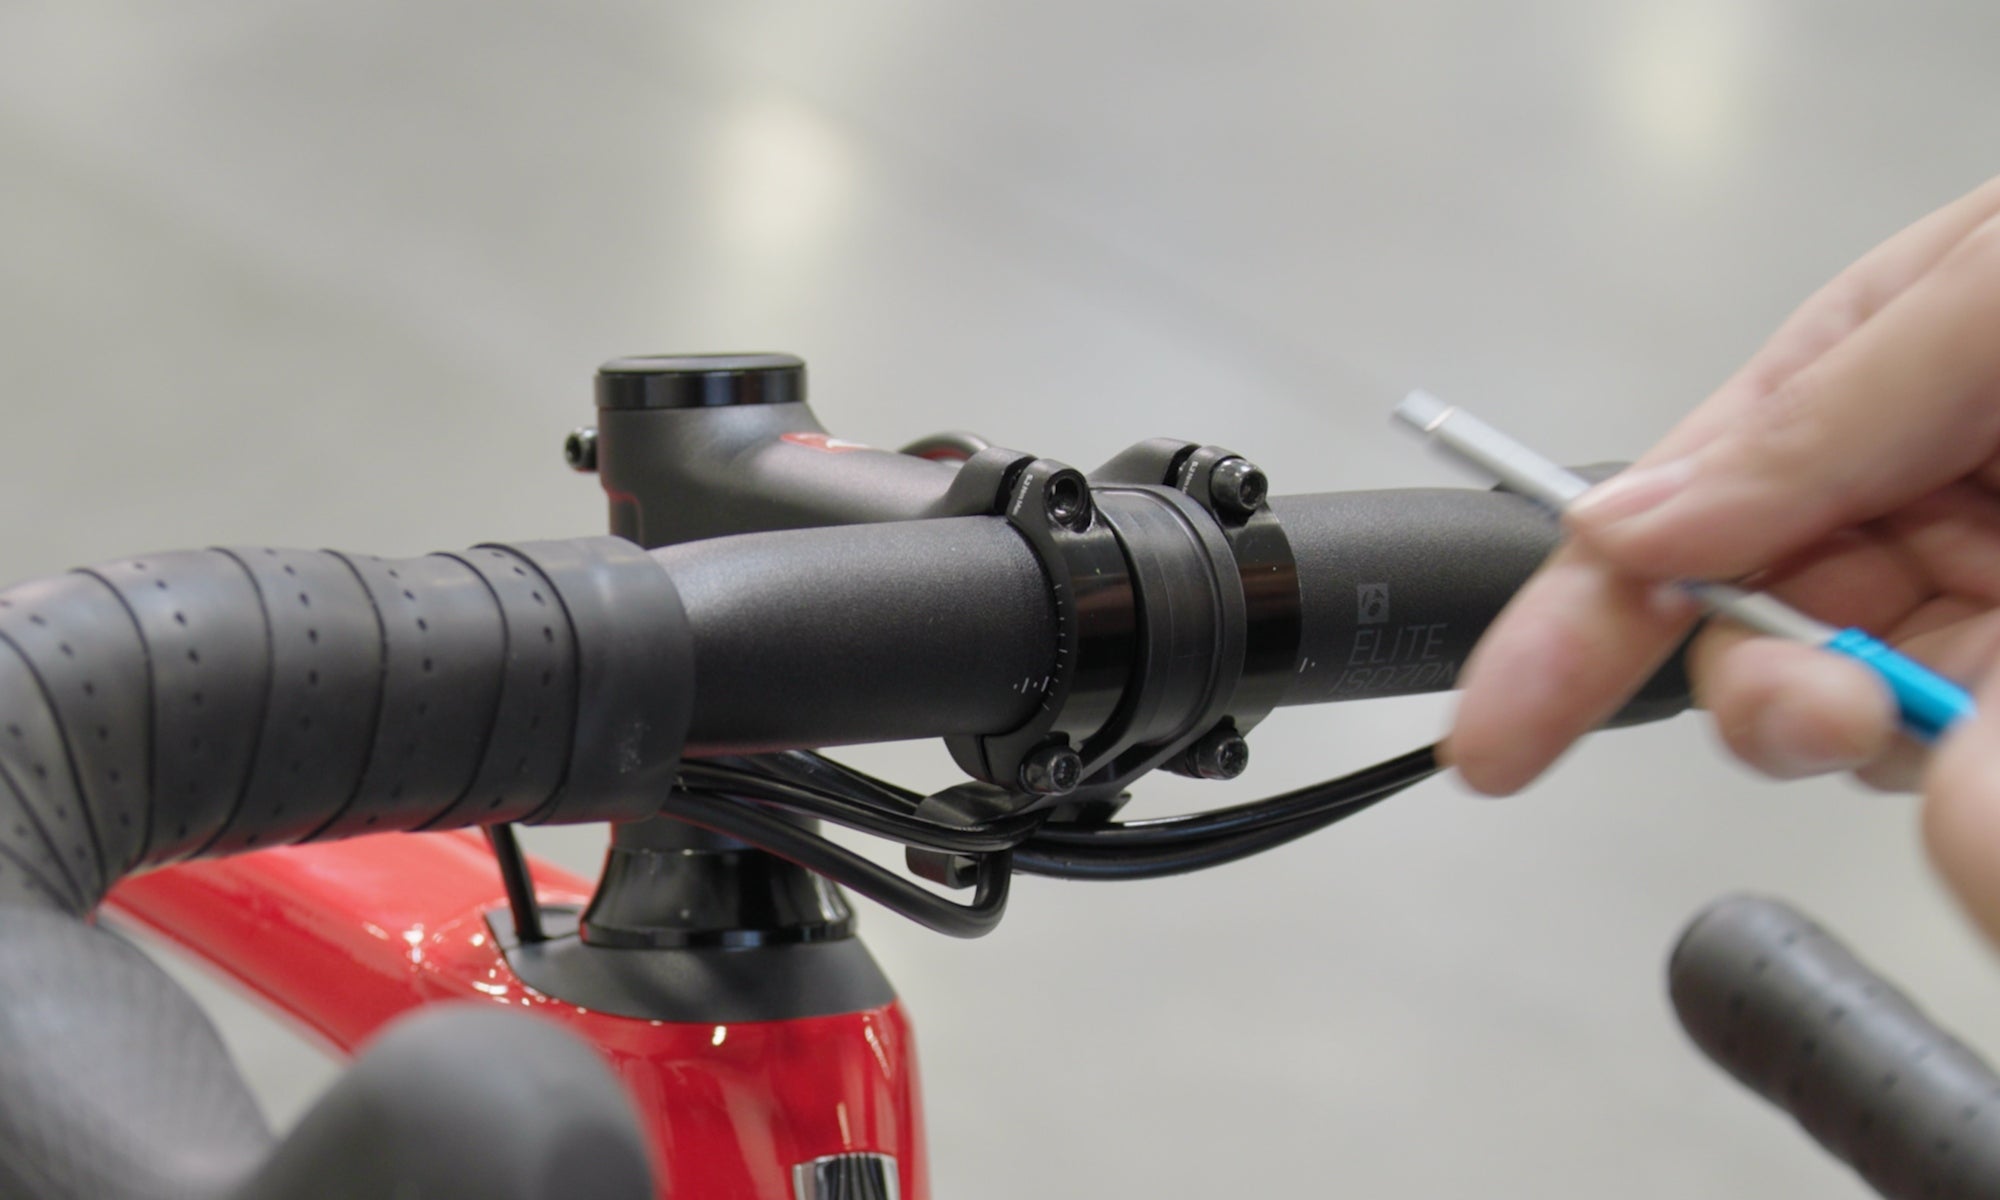
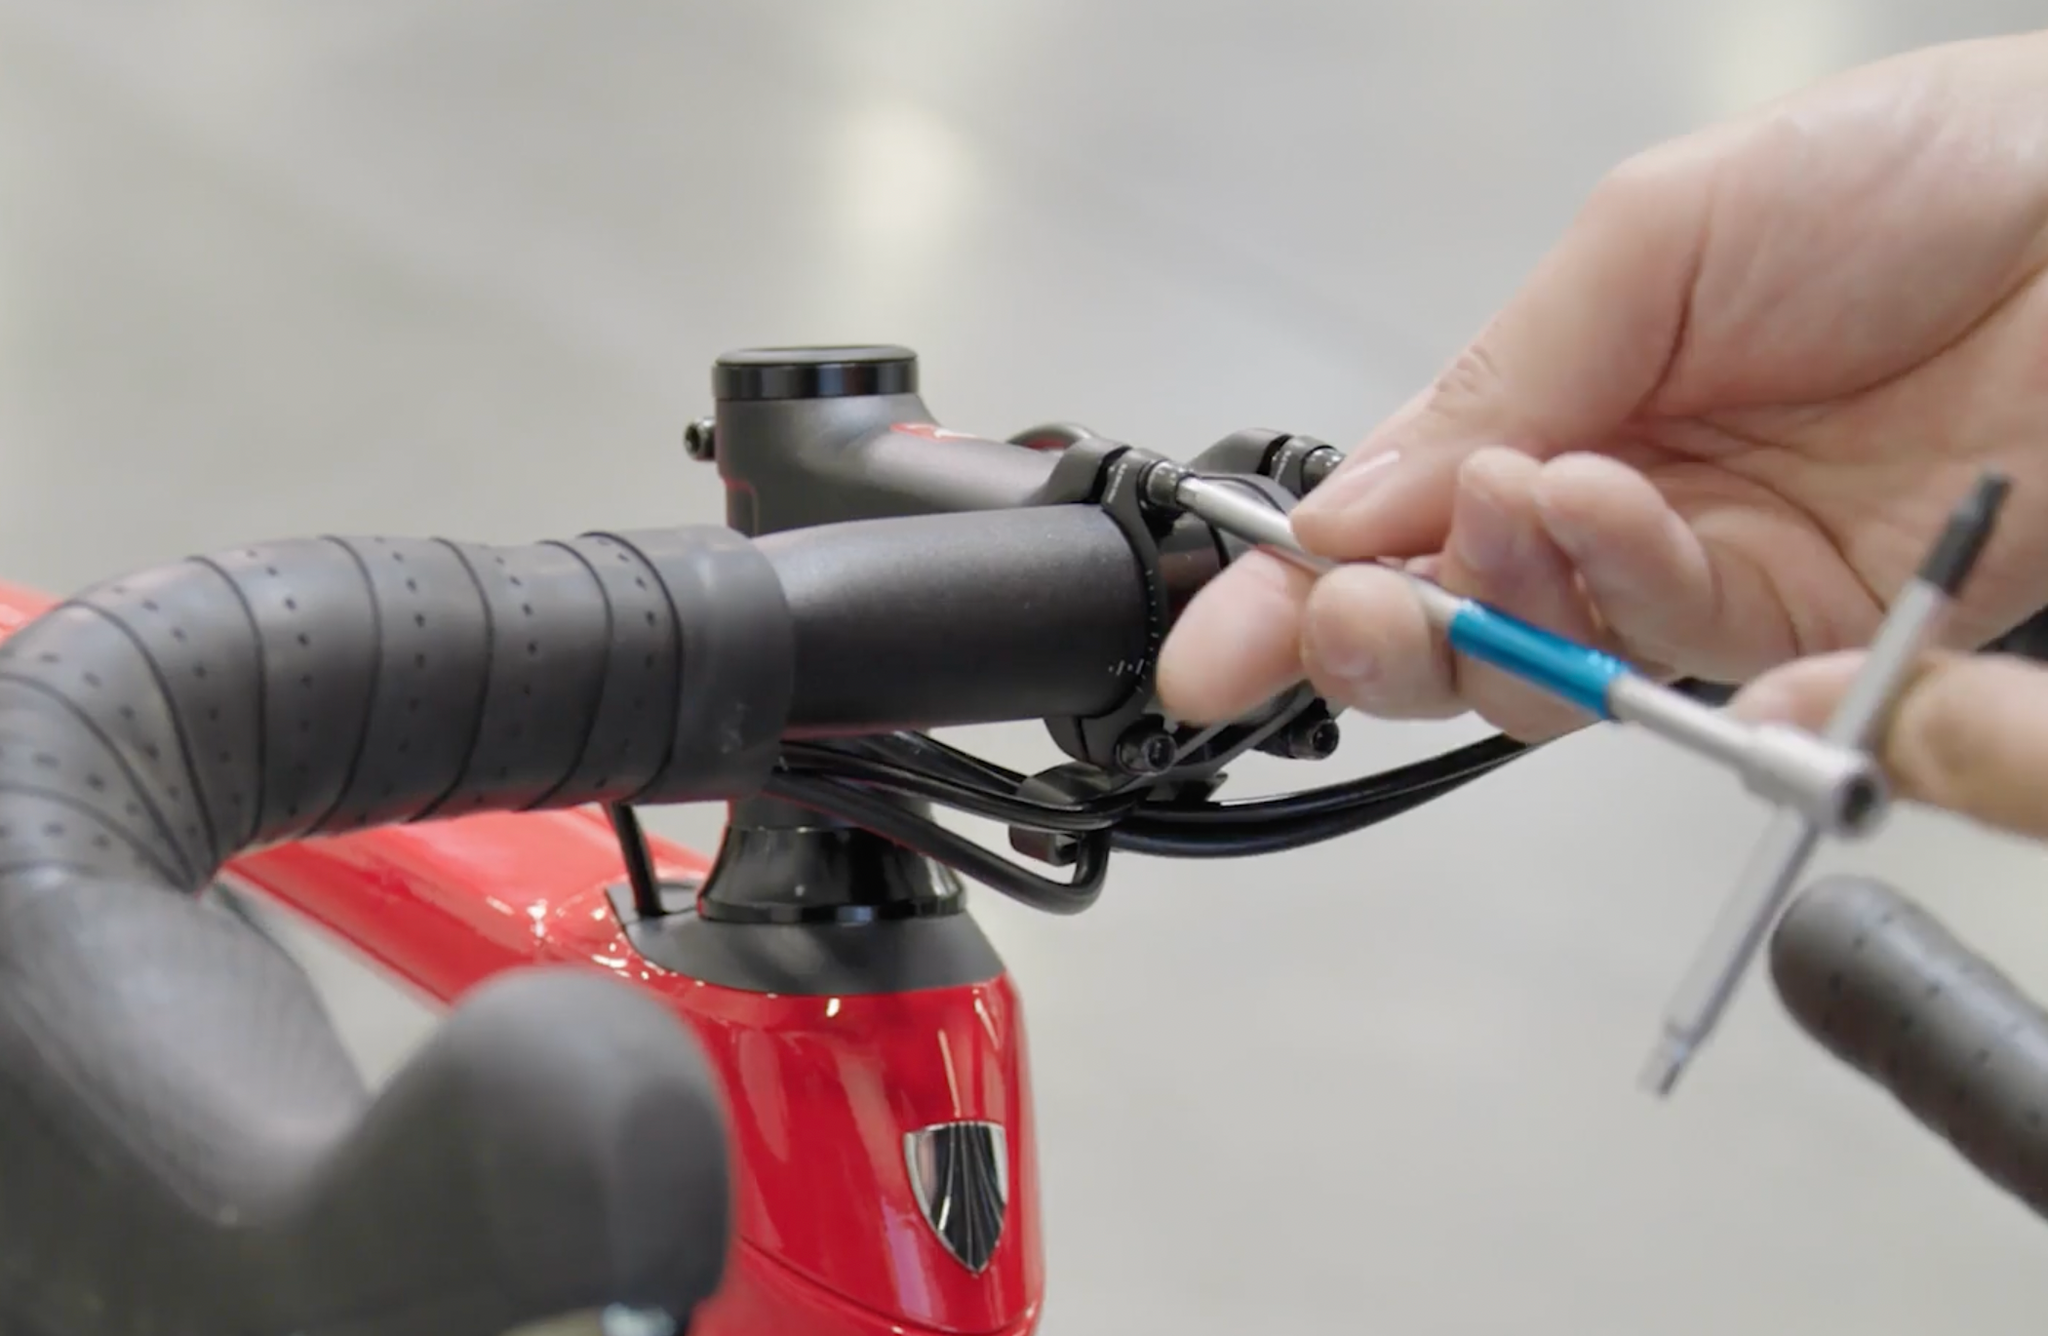
 Loosen the steerer clamp bolts. You don’t need to remove these bolts entirely. Just loosen them enough for the stem to move side-to-side freely.
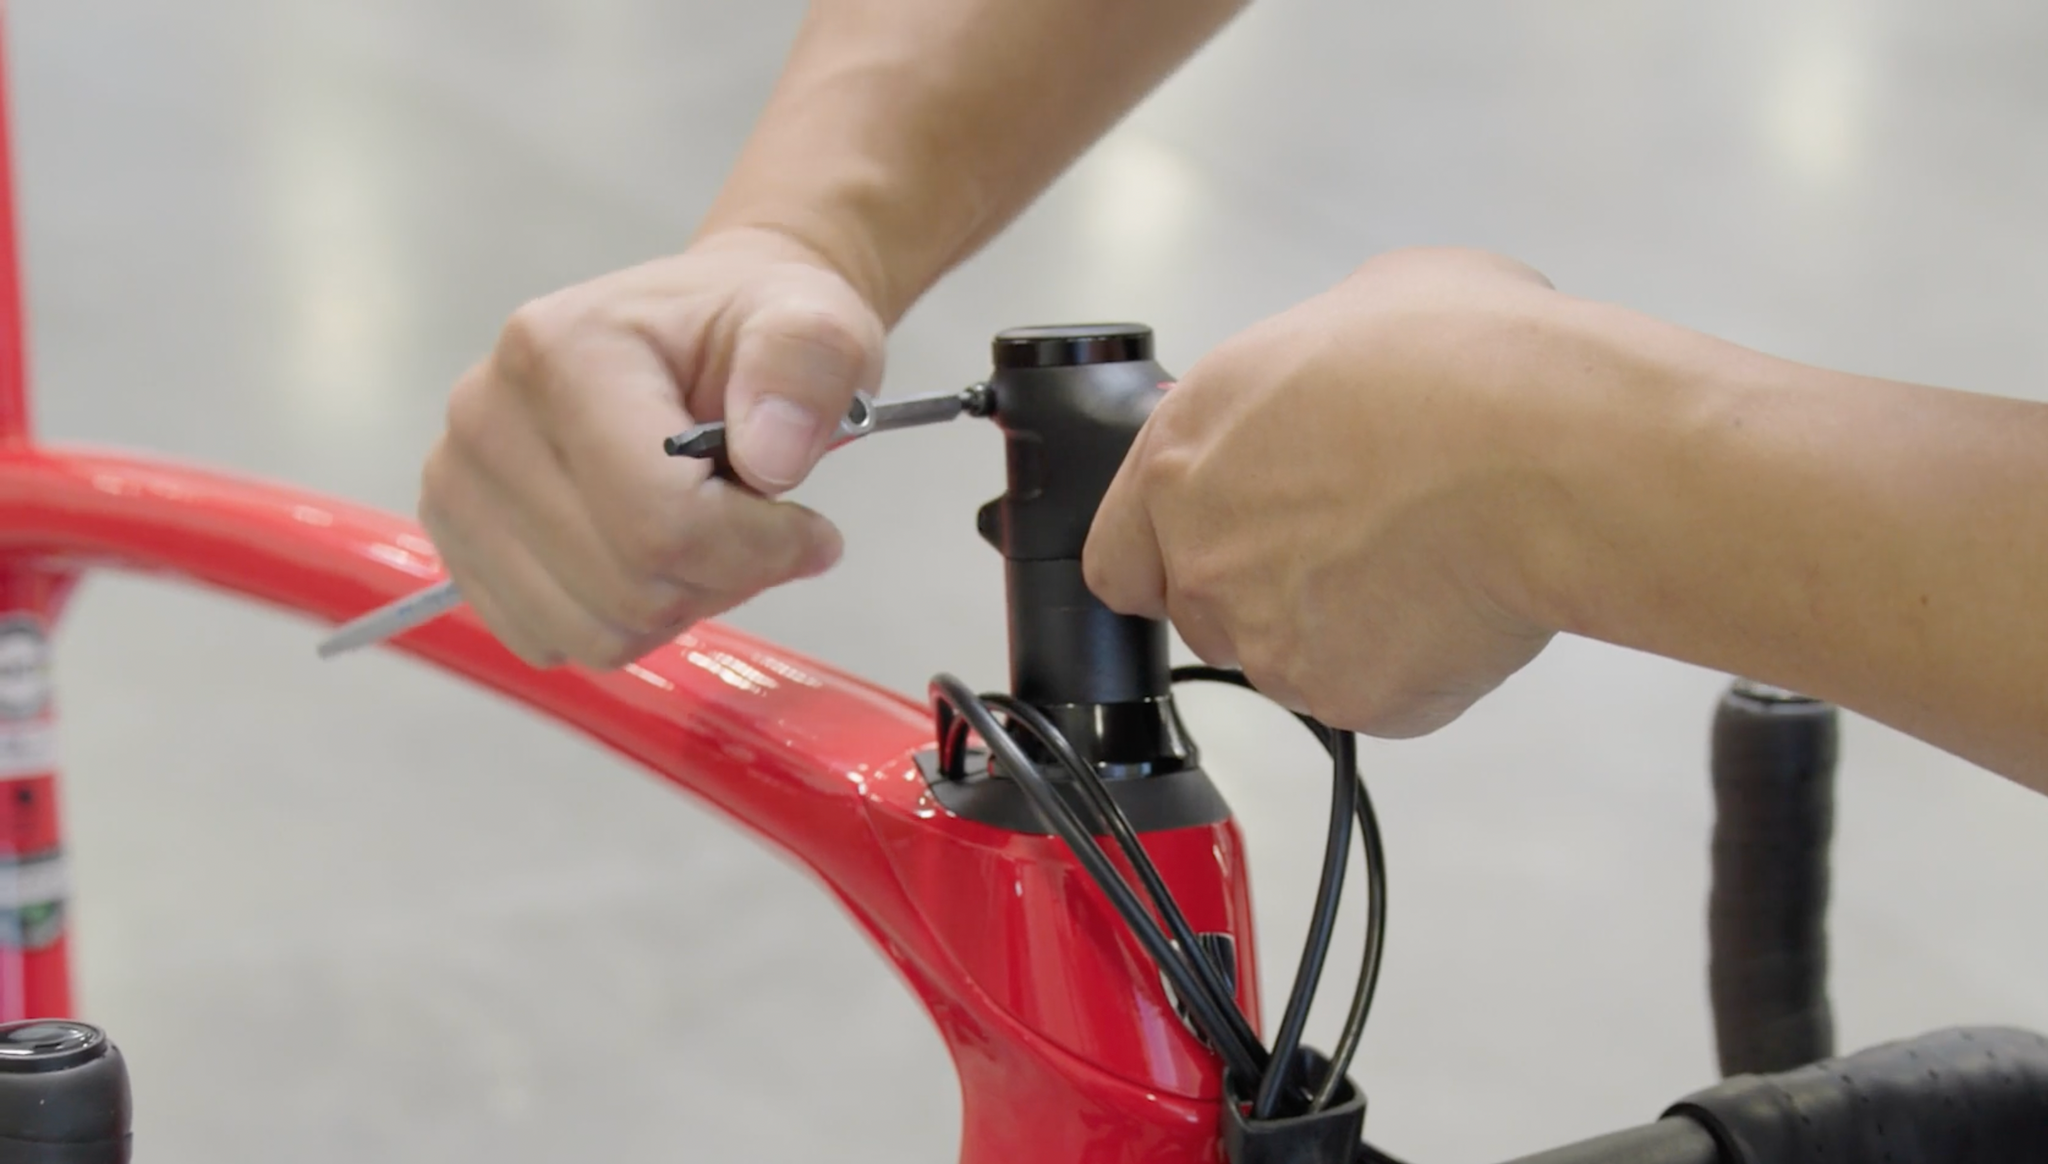
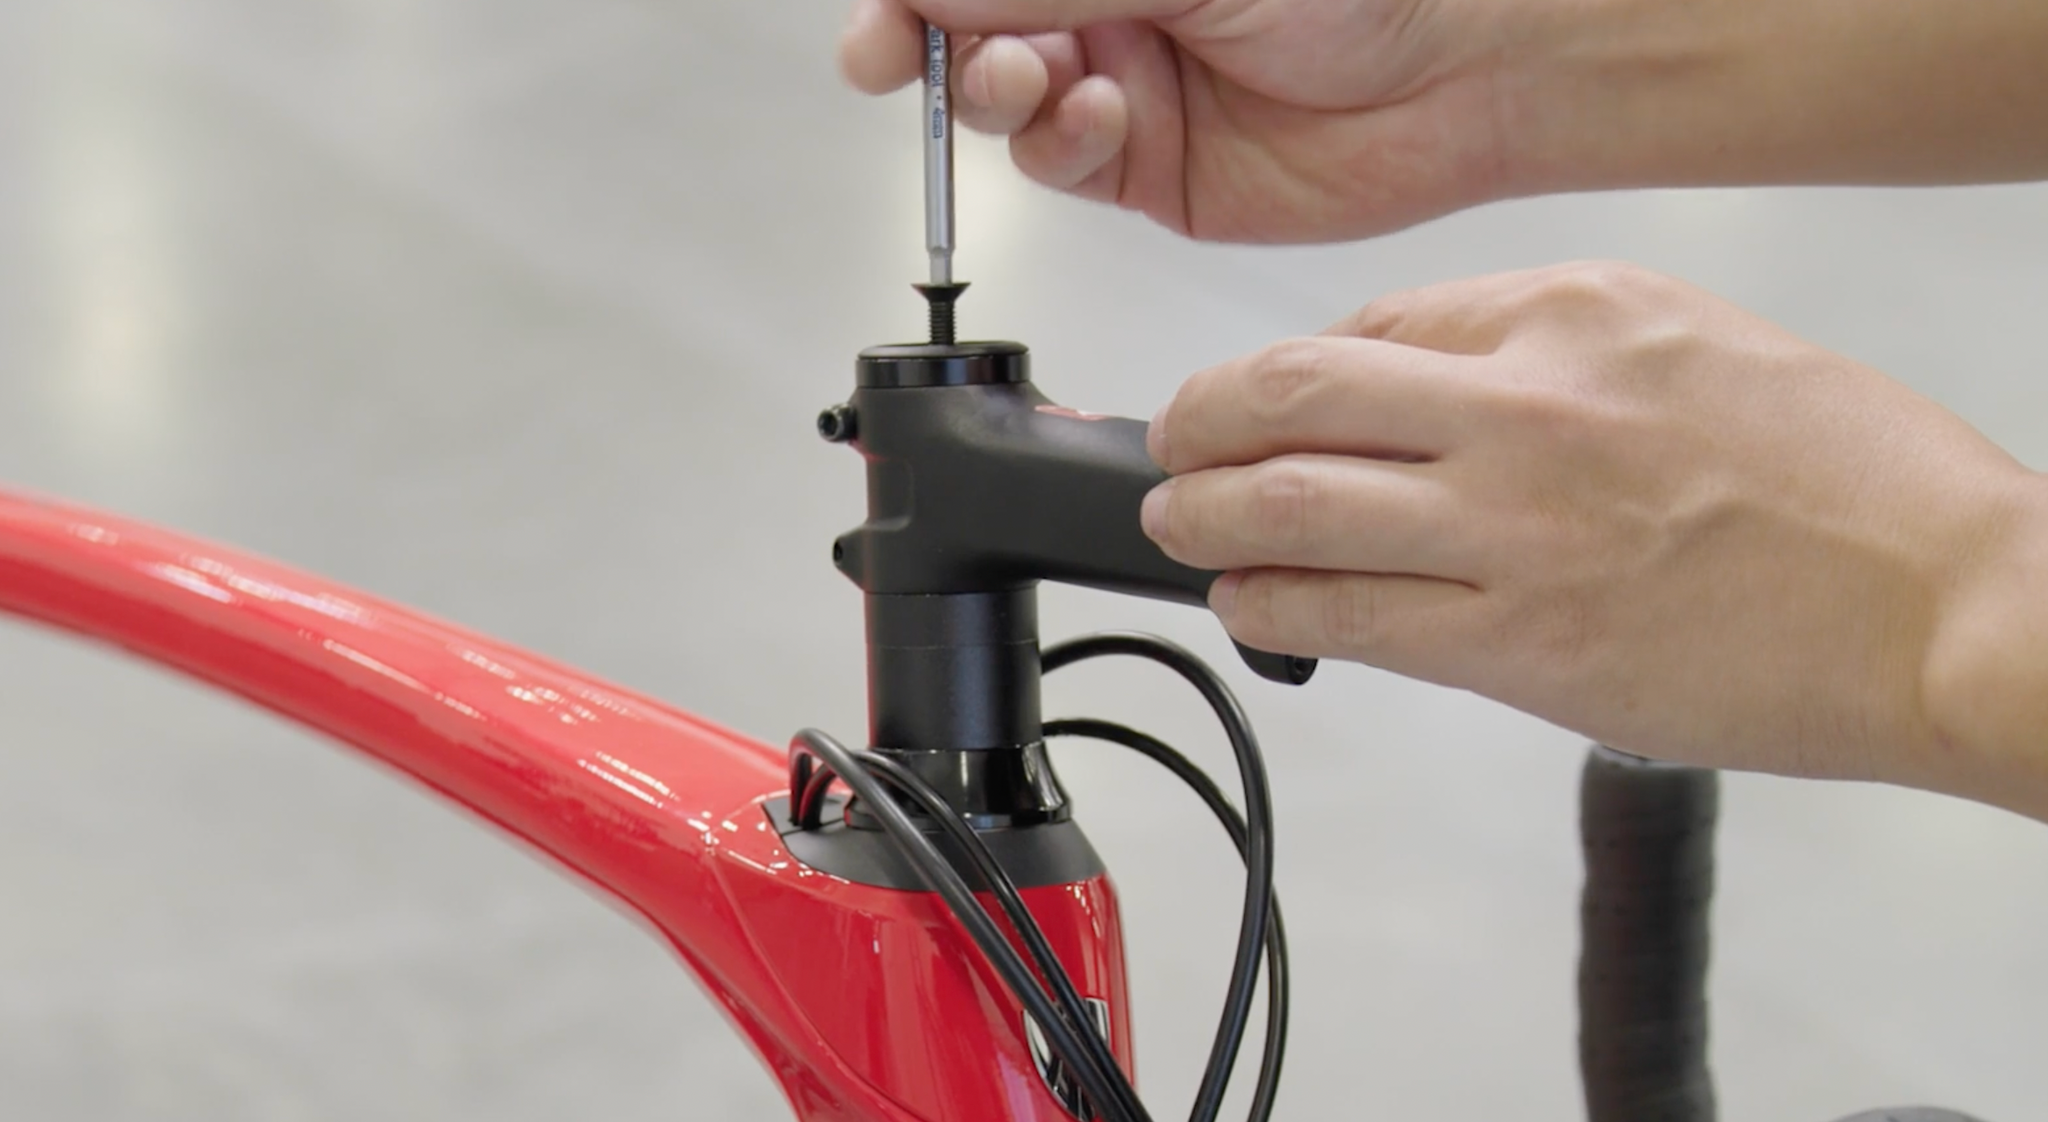
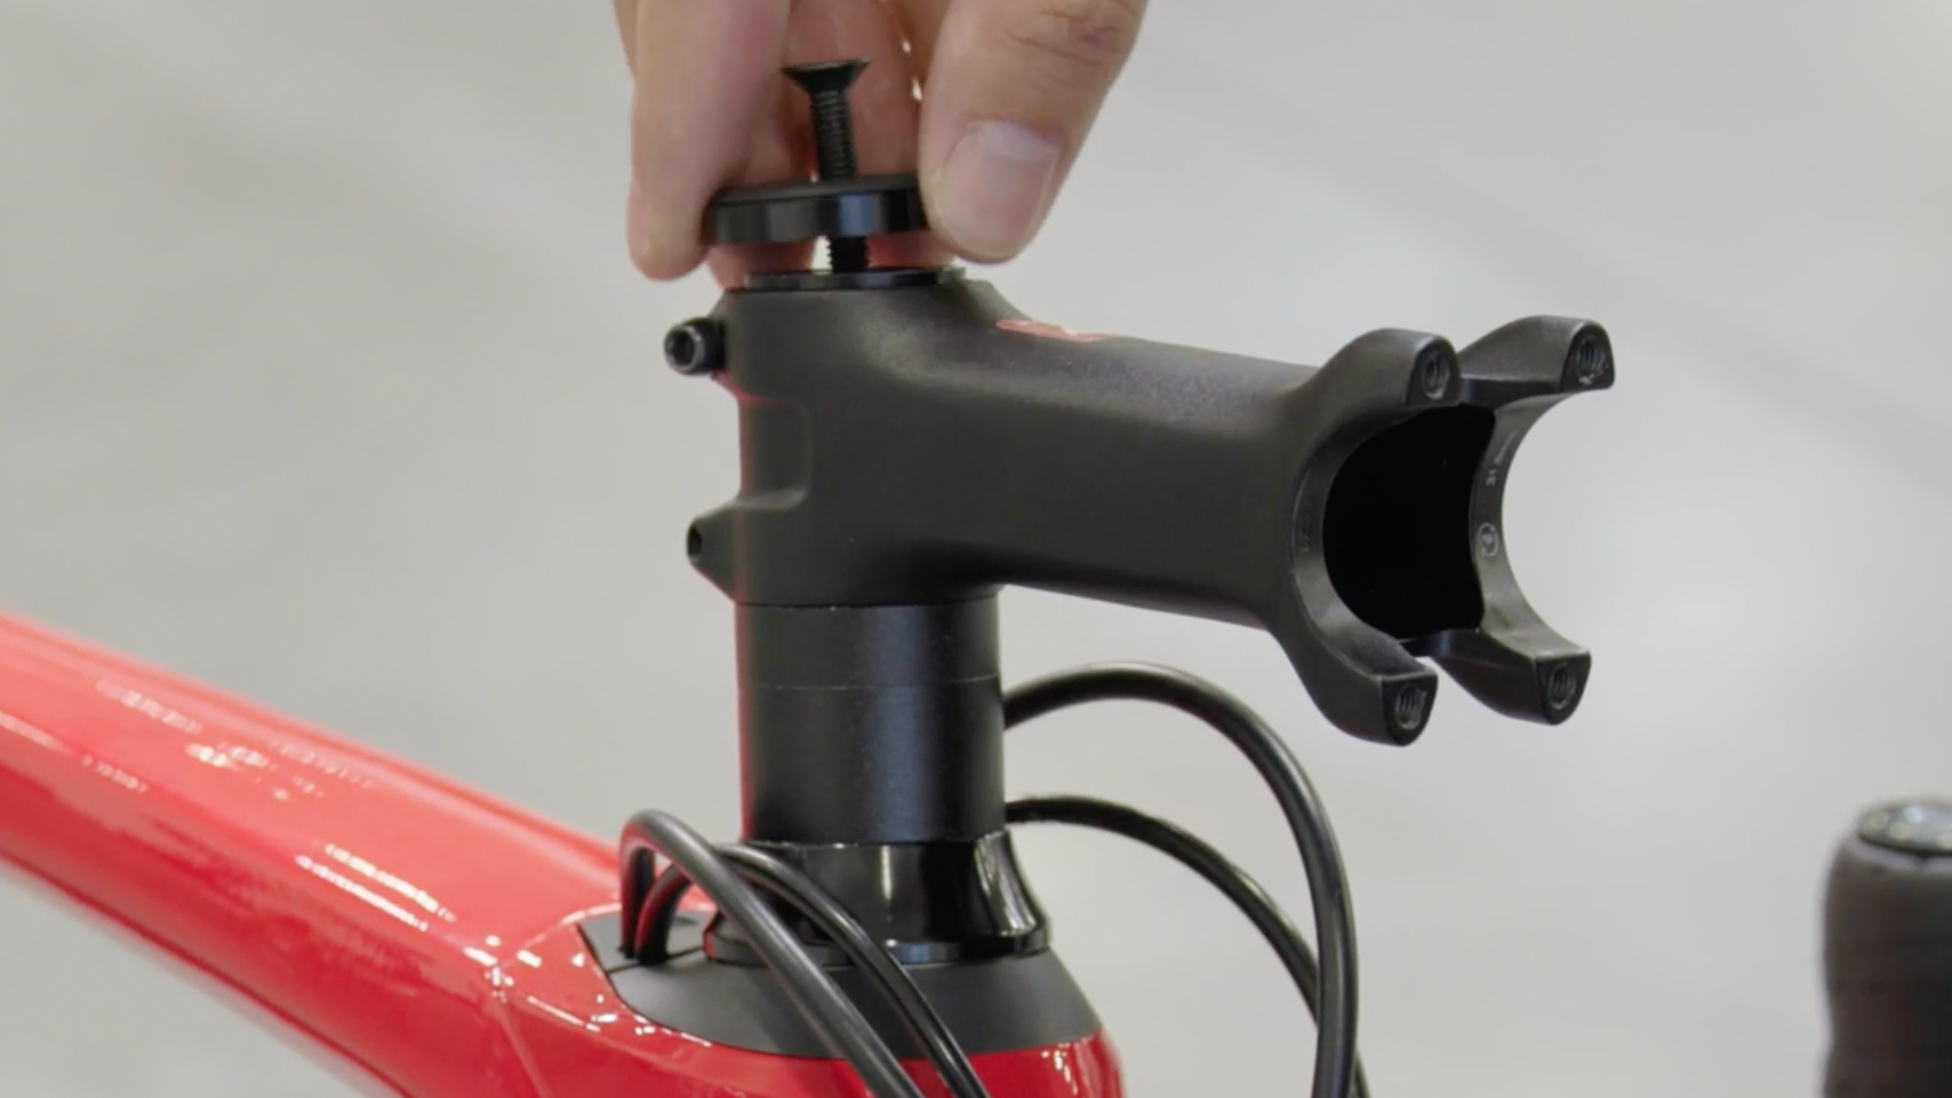 Completely remove the top cap by unscrewing the top cap bolt.
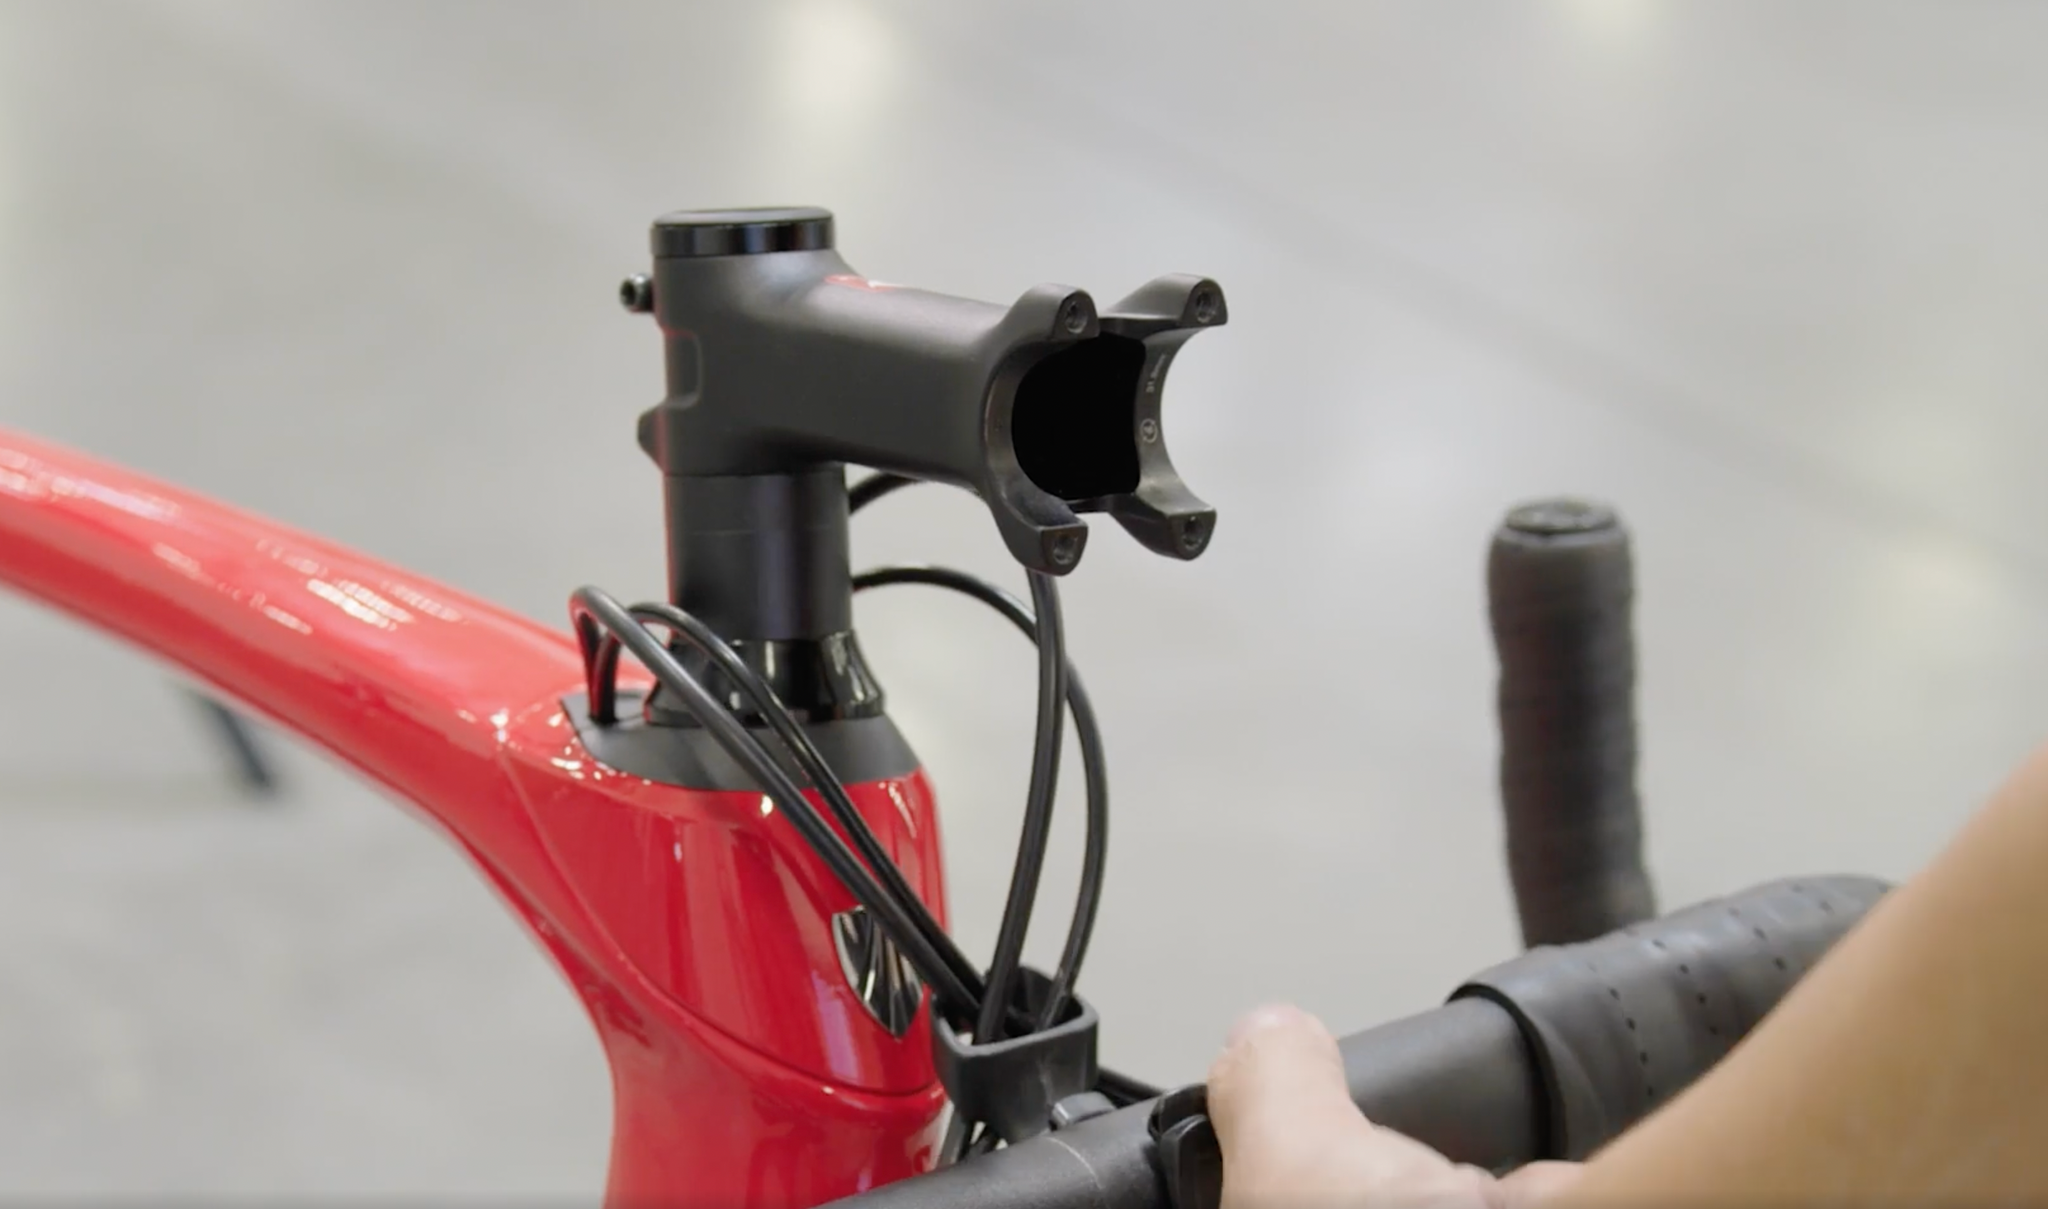
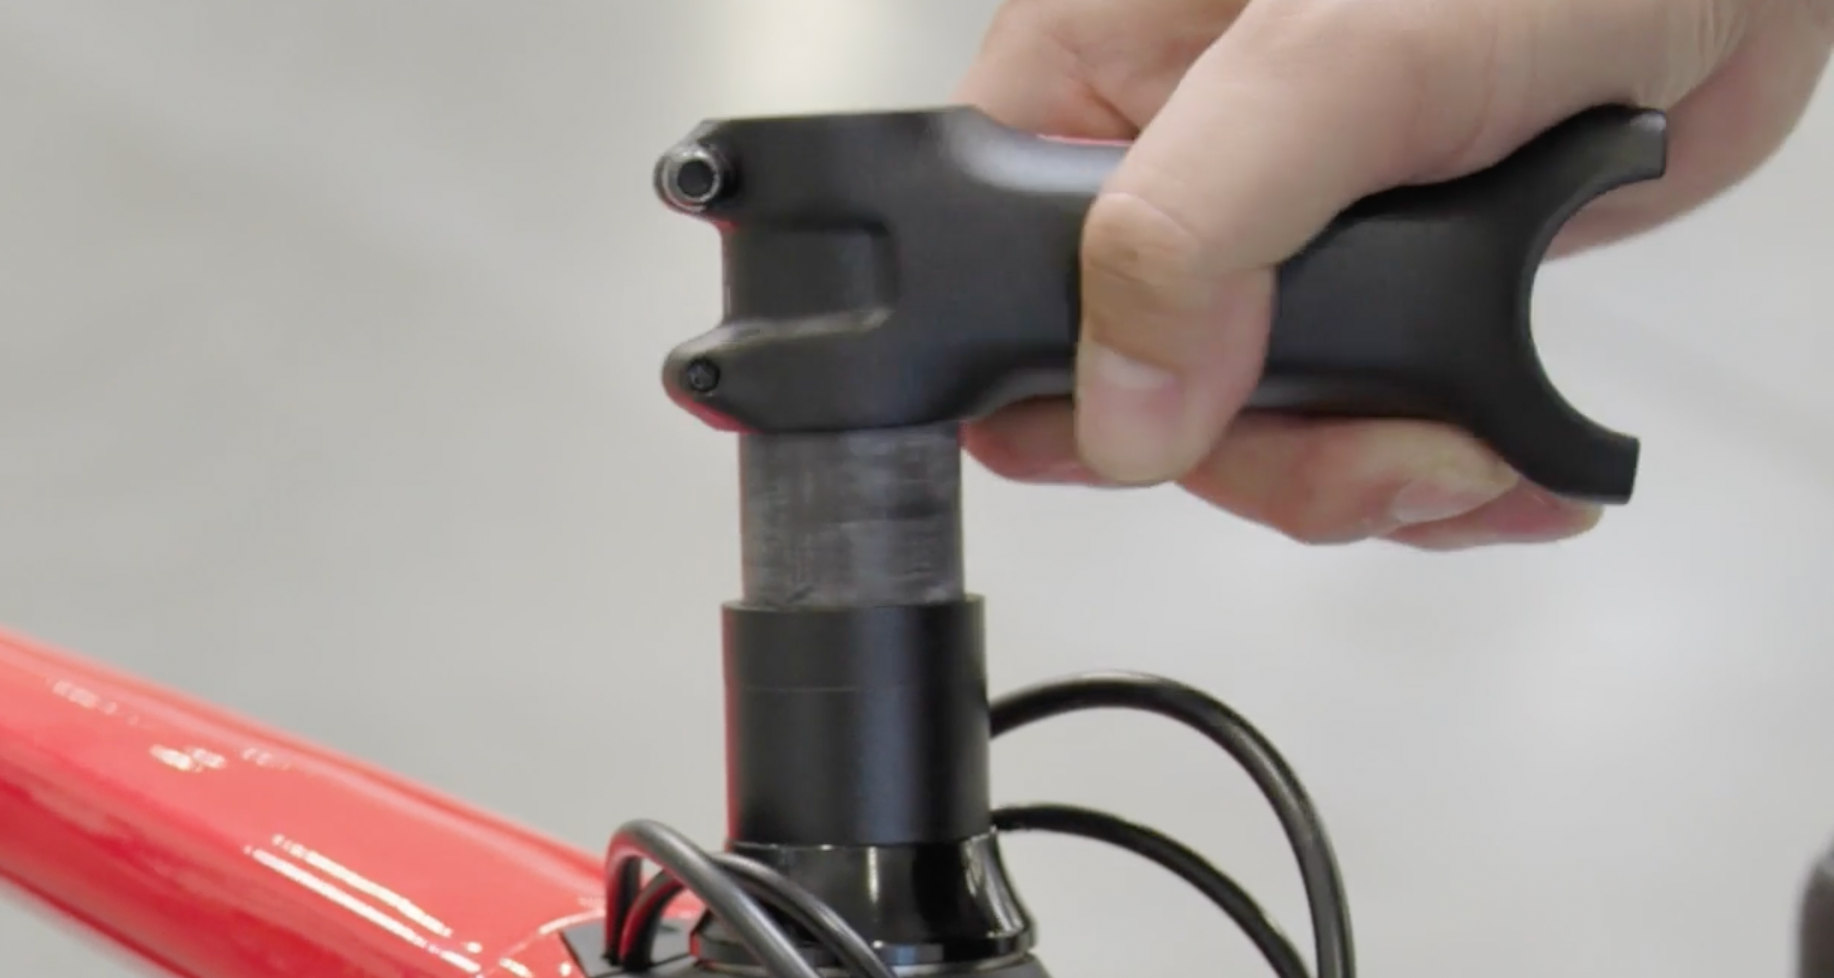 Remove the stem and spacers from the steerer tube.
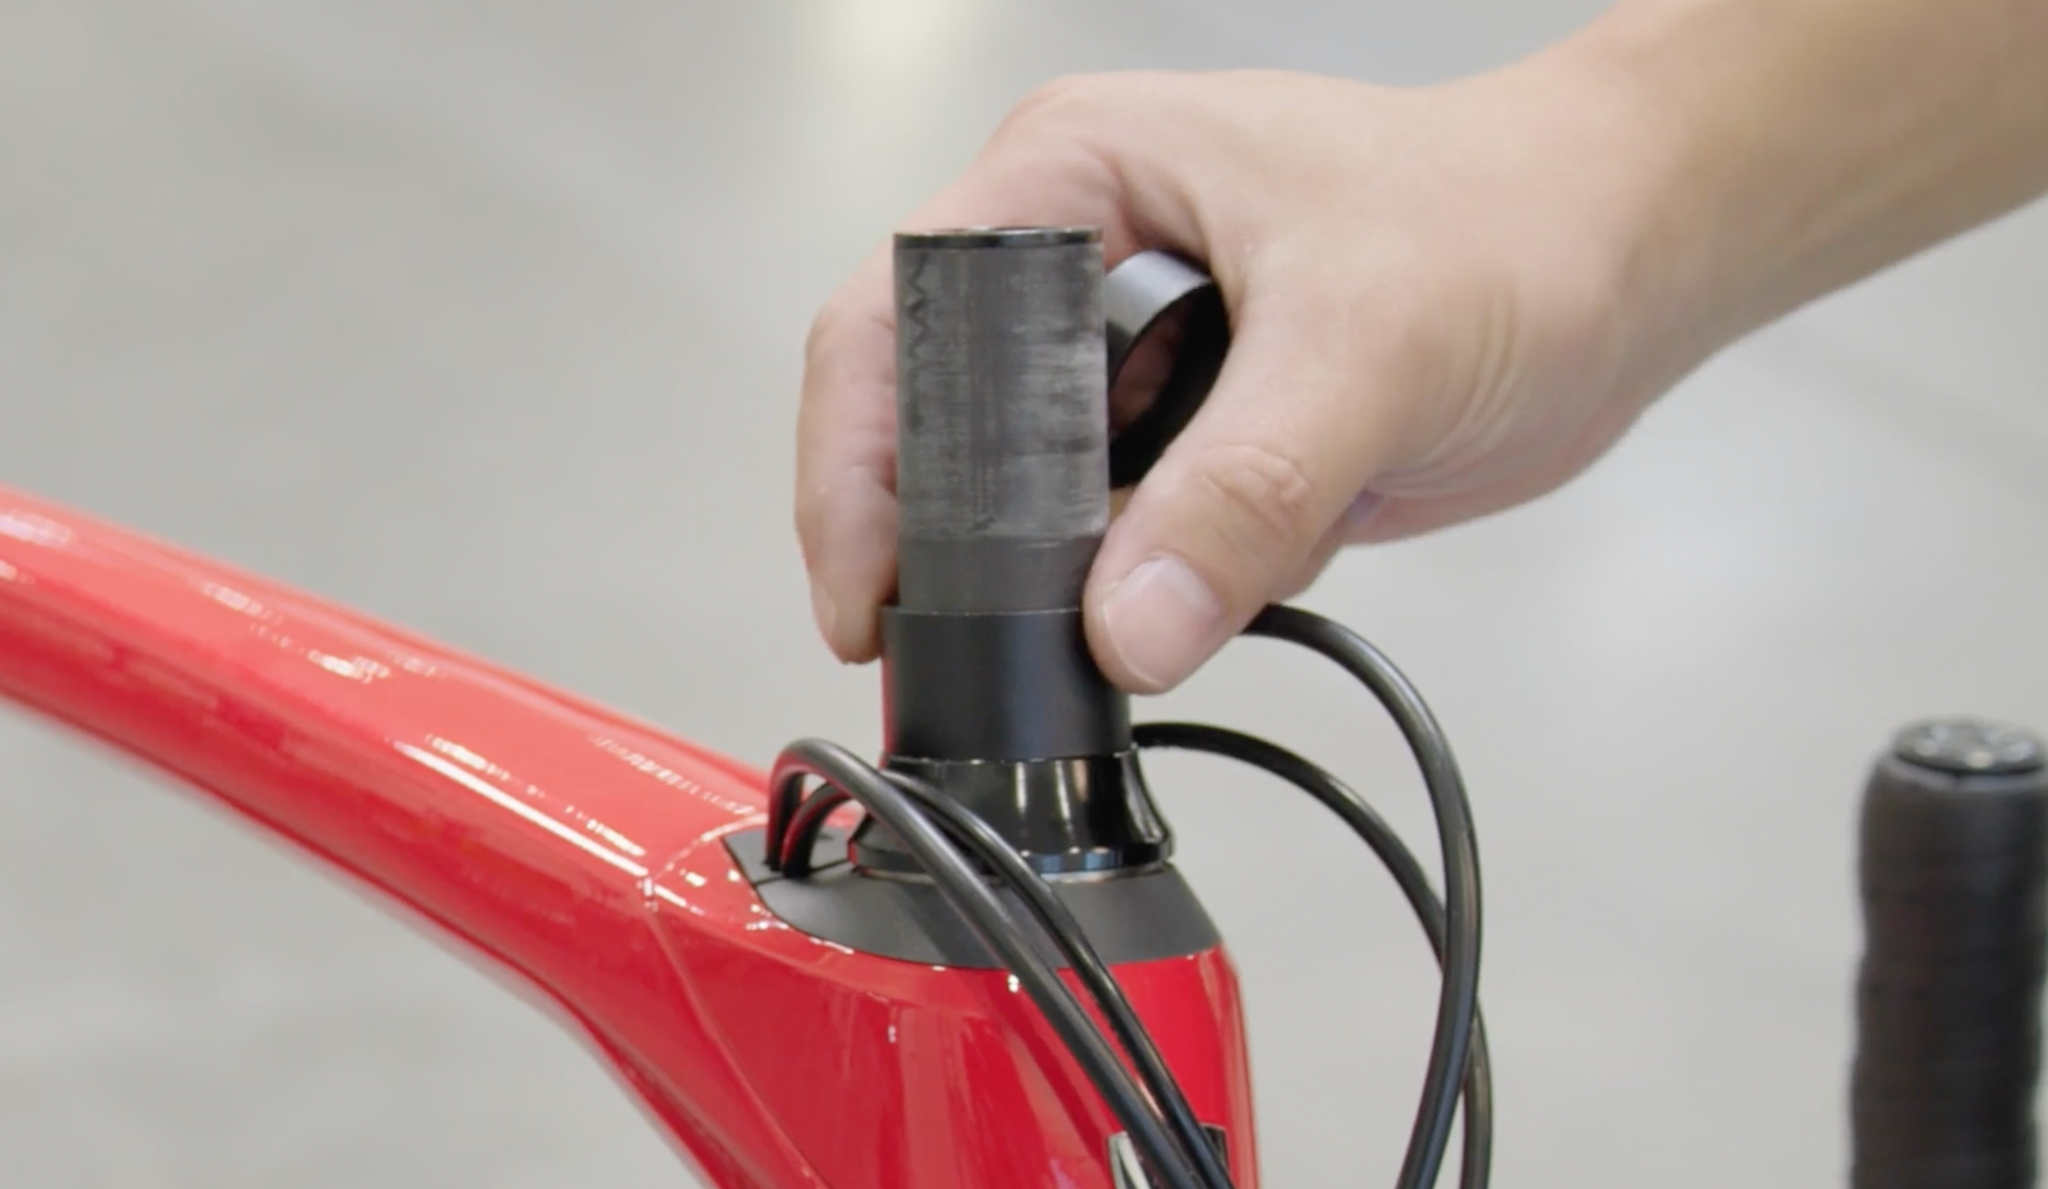 With the stem and spacers removed, you can now rearrange the stem and spacers on the steerer tube to achieve your desired riding position. Add spacers beneath the stem to raise it higher. To lower your bars, remove spacers from underneath the stem (these spacers will need to be placed above the stem). If your stem is angled, you can also flip it so it points up or down.
Note: Most bike manufacturers recommend having no more than 30mm of spacers below the stem and no more than 10mm of spacers above the stem. It’s fine to have more than 10mm of spacers above the stem when testing lower riding positions, but it’s best to cut the steerer tube shorter when you’ve determined a permanent stem position.
Once you’ve arranged the stem and spacers to achieve your desired stem position, you can reinstall your top cap and top cap bolt.
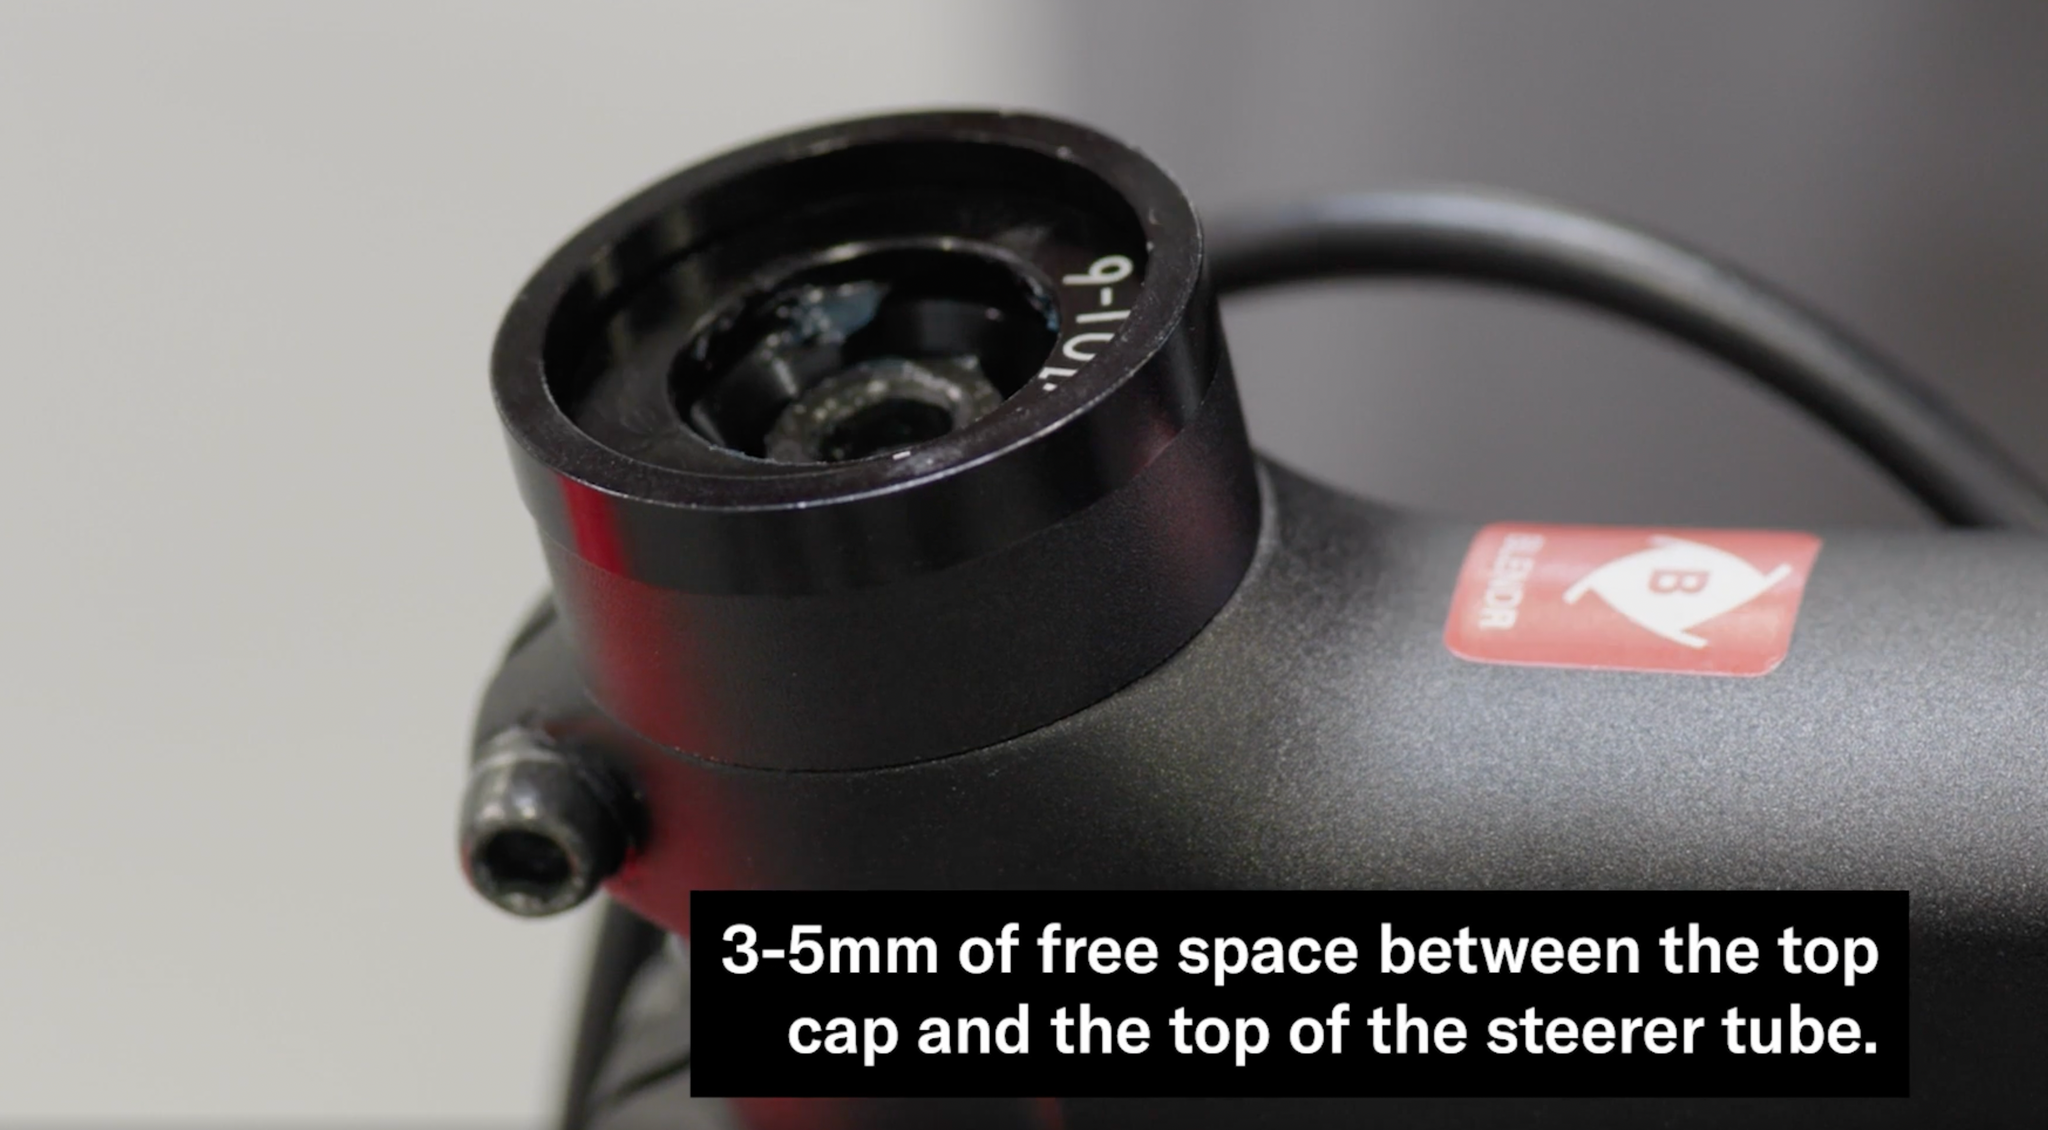 Ensure there is a 3-5mm gap between the top cap and the top of the steerer tube. This allows you to preload the headset without the steerer bottoming out against the top cap. If there is not enough free space between the top of the steerer tube and the top cap, you will need to add another spacer.
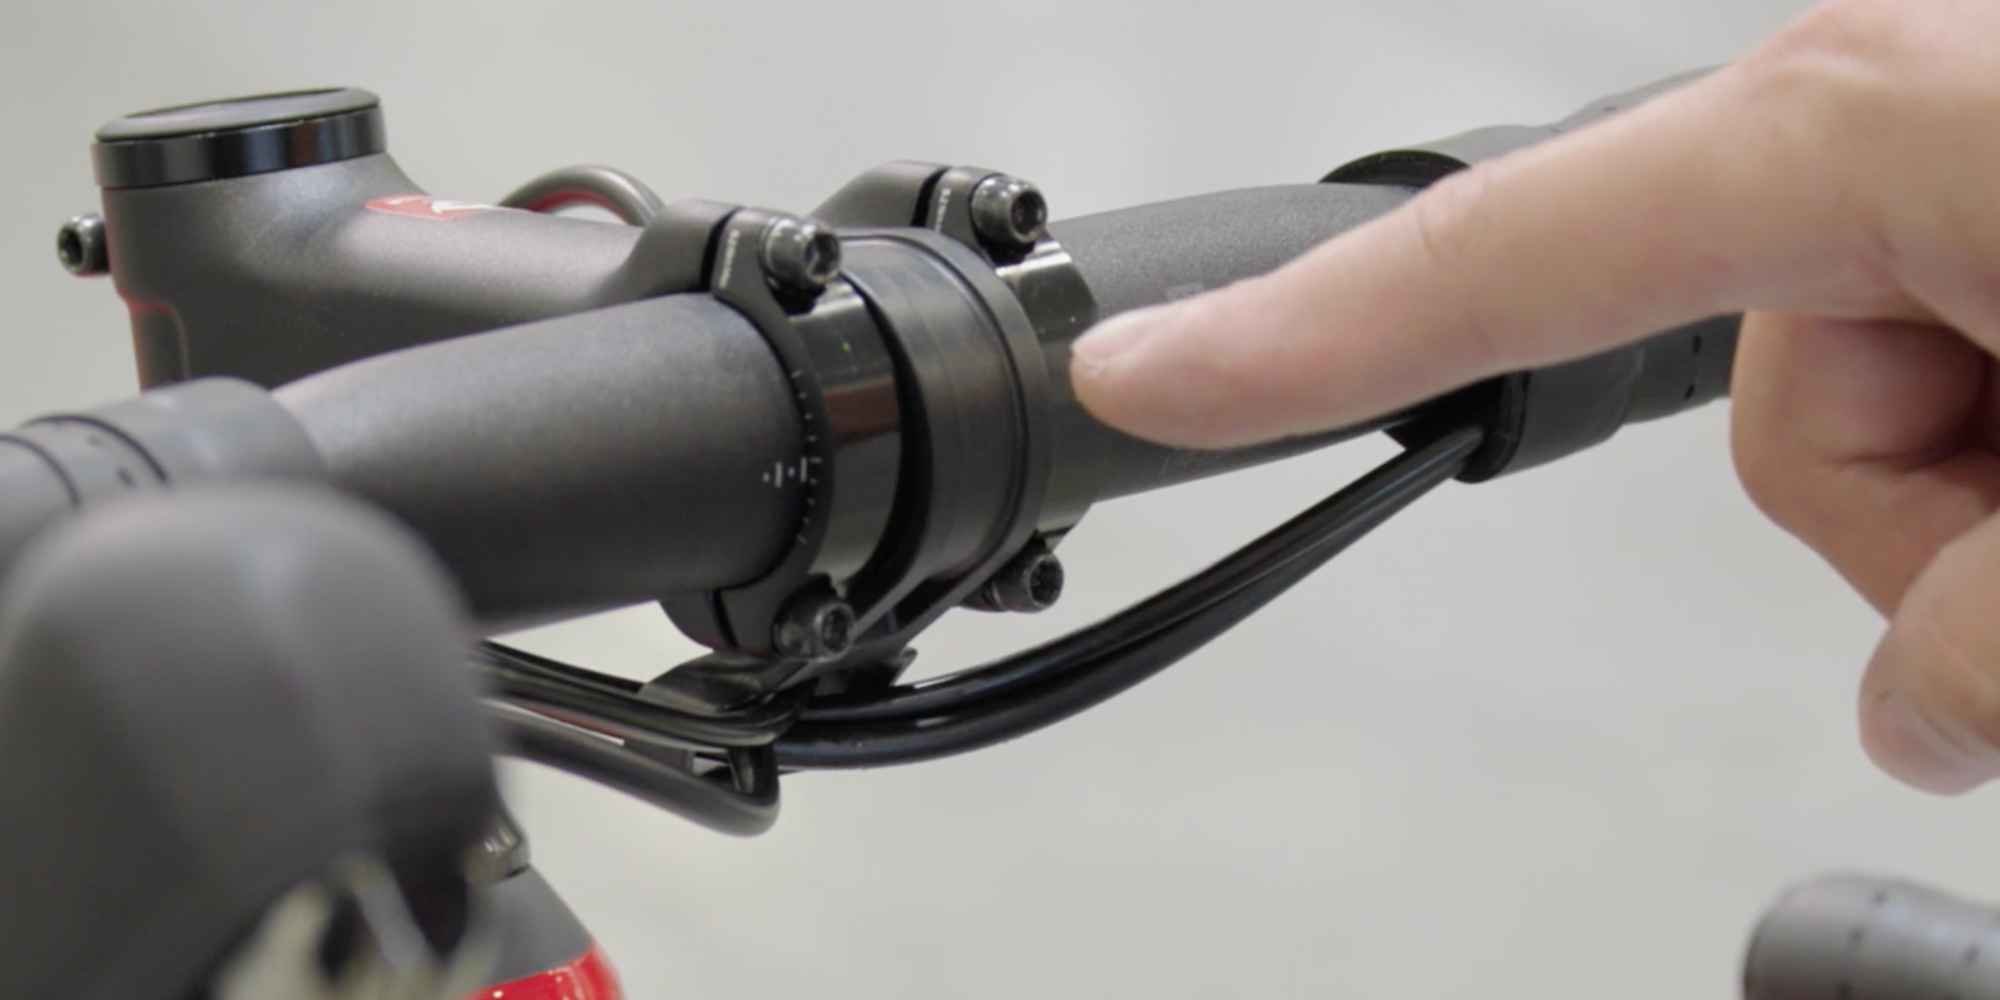
Note: The top bolt of the stem’s steerer clamp should NEVER be above the top of the fork’s steerer tube. If it is, you need to lower your stem. For safety, always ensure the stem’s steerer clamp has full contact with the steerer tube.
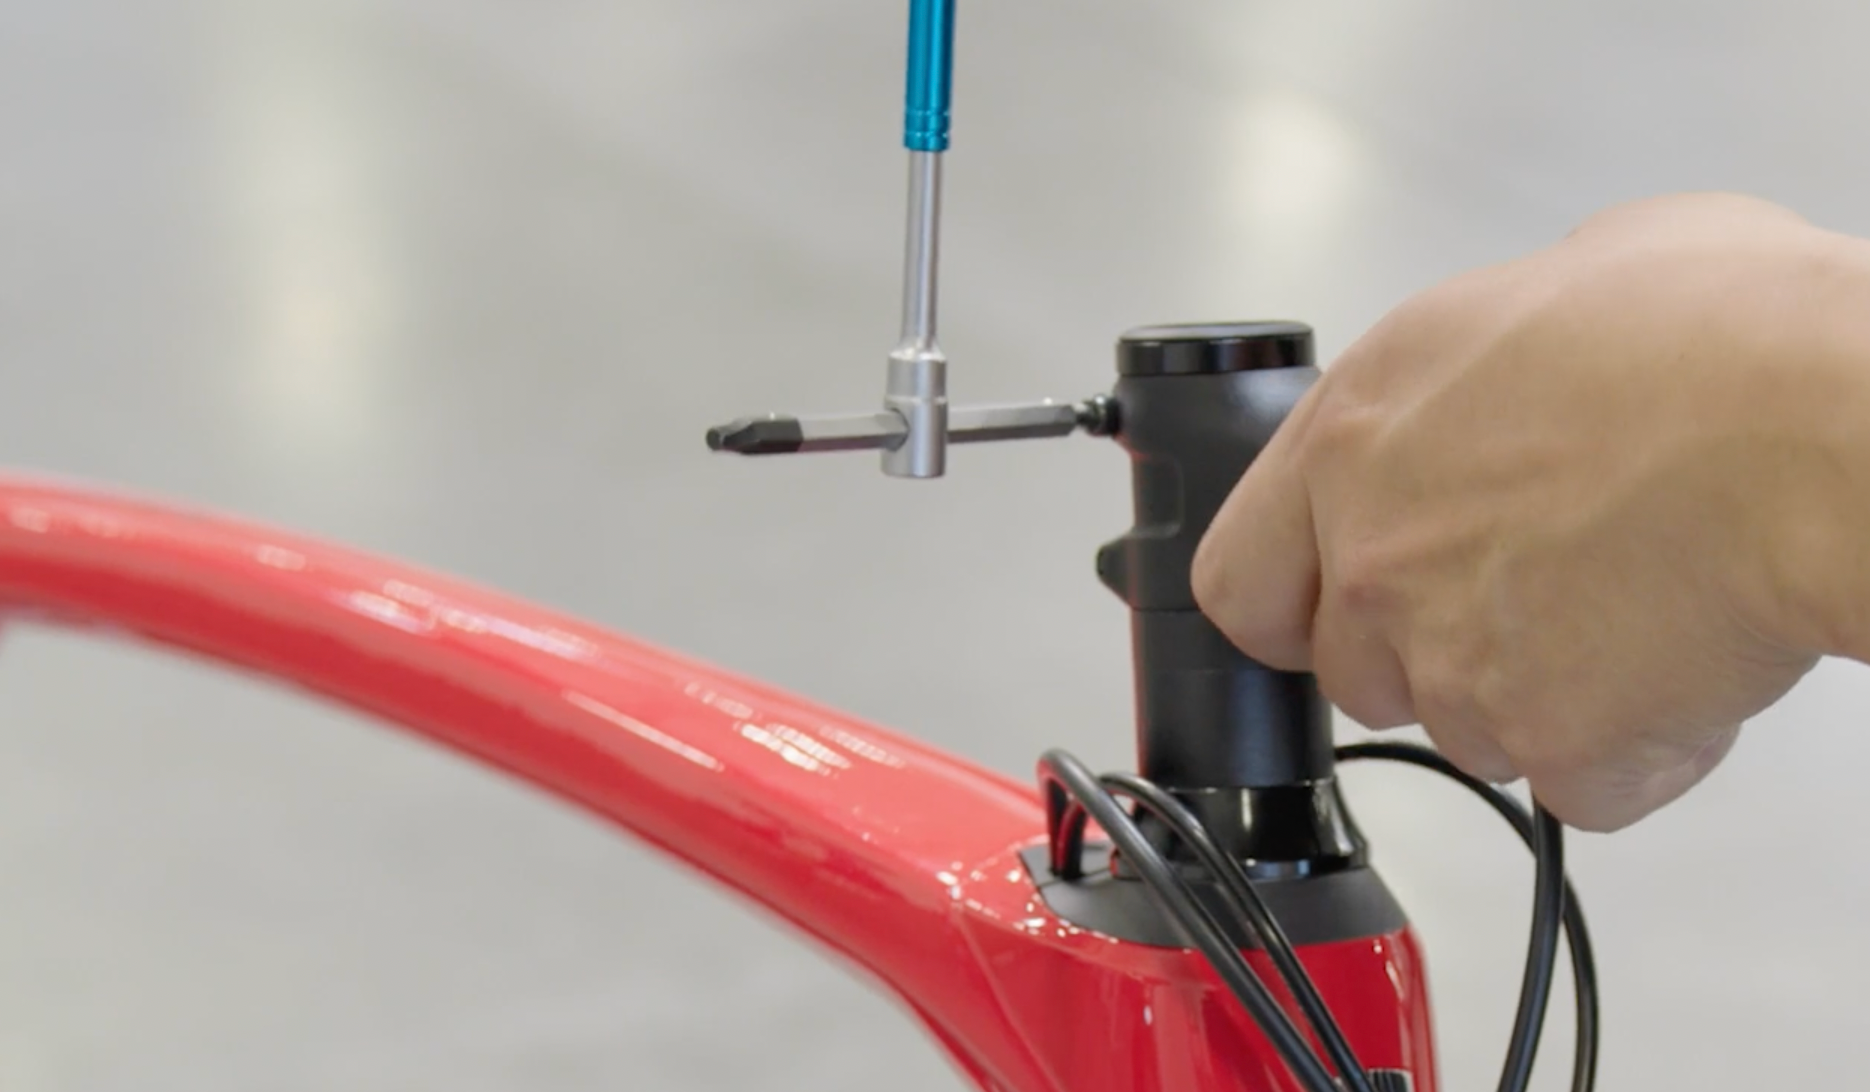
 Tighten the top cap bolt to pre-load the bike’s headset bearings and eliminate any play in the headset.
 You can check for play in the headset by squeezing the front brake (with handlebars installed) and wiggling the front of the bike back and forth. If it feels loose, tighten the top cap bolt until the play disappears. There only needs to be enough preload to eliminate play. The handlebars should still turn smoothly and easily.
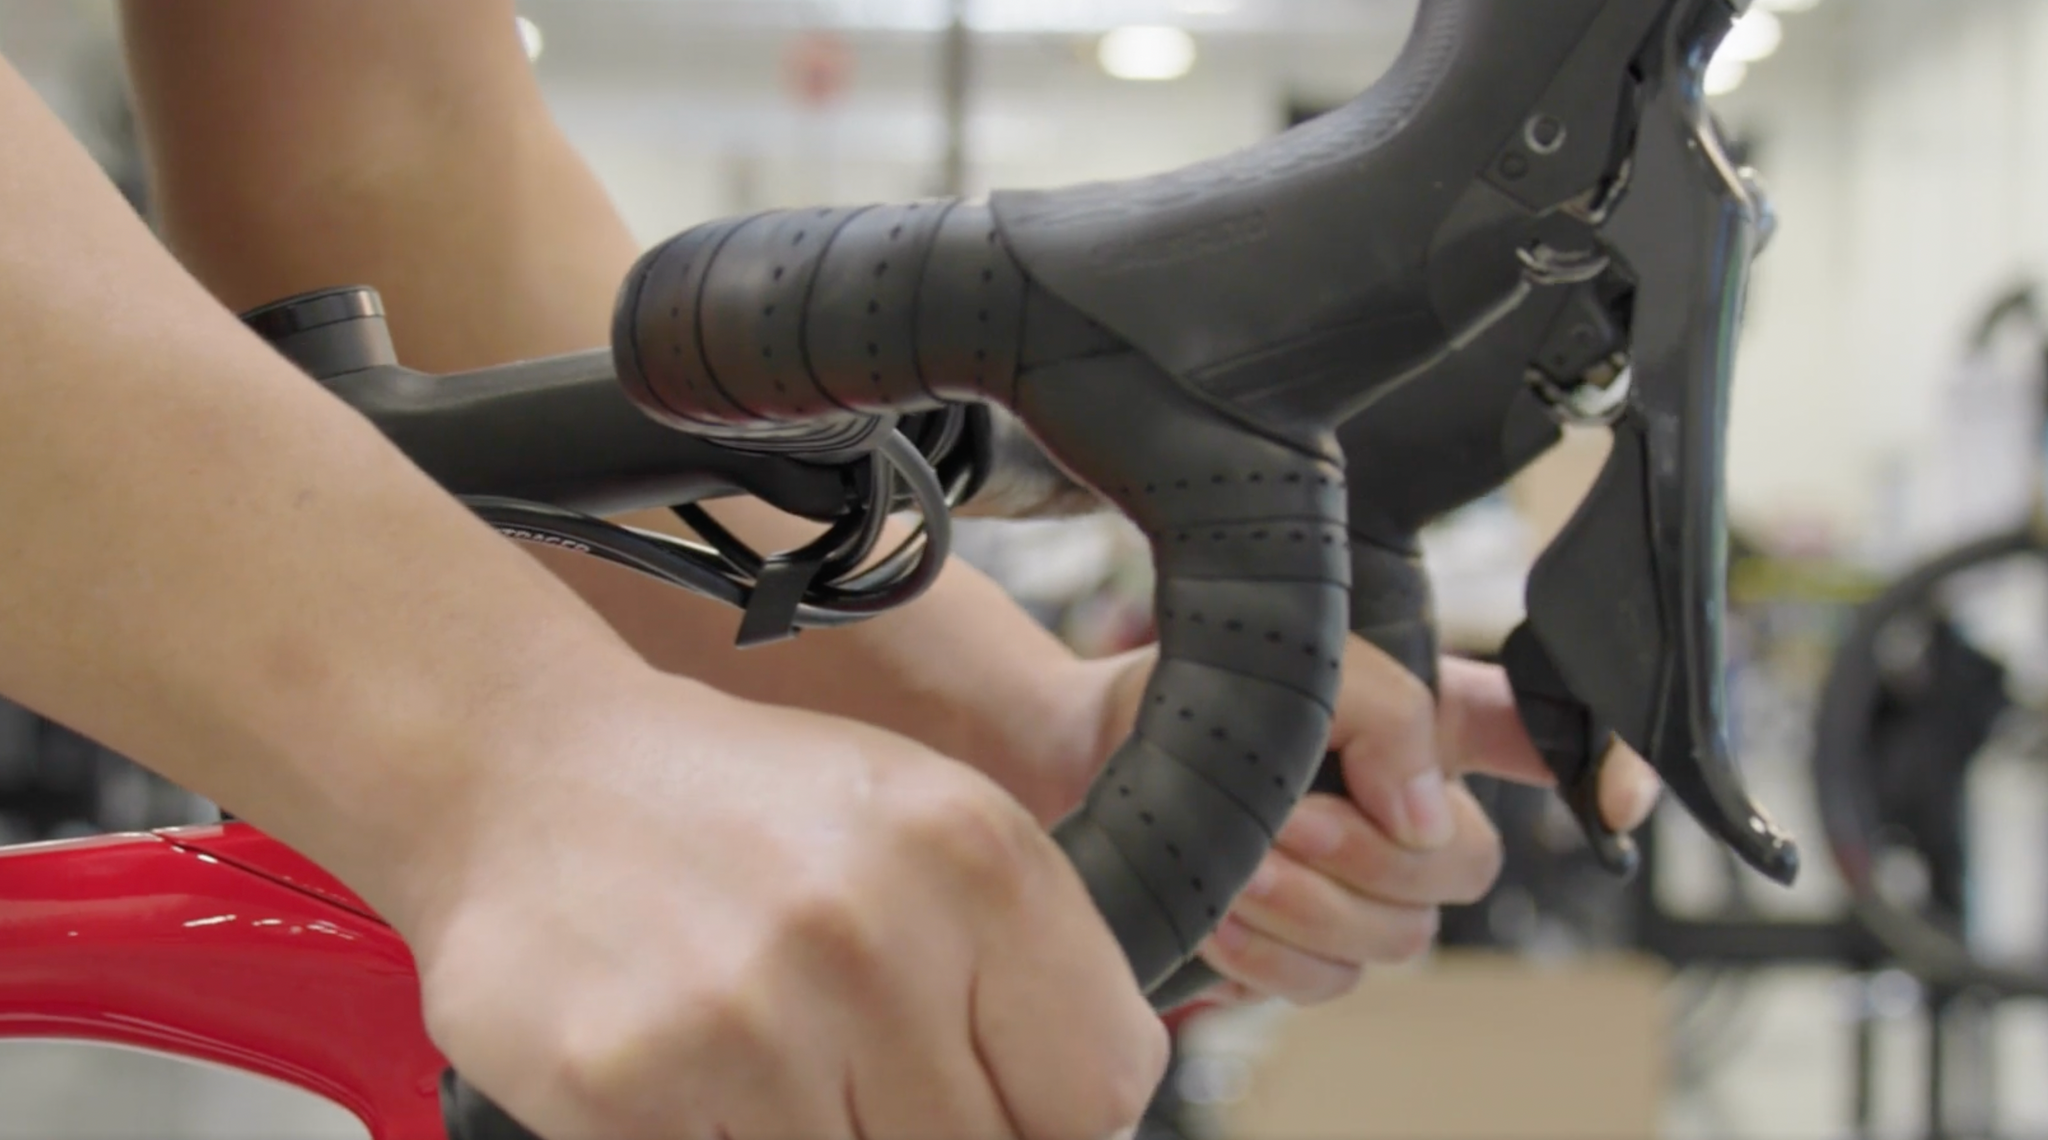
Align the stem with the front wheel.
 Tighten the steerer clamp bolts. If you have a carbon steerer tube, use a torque wrench to tighten them to the recommended torque spec (usually 5 Newton meters).
With the steerer clamp bolts tightened, you’re done! The stem’s steerer clamp is what actually holds the whole headset together. Theoretically, you could remove the top cap and top cap bolt after tightening the steerer clamp bolts, and the bike will still steer and function normally — but don’t do this!
Once you’ve tried these basic steps to adjust your stem, it should be quick and easy to change your riding position to get the perfect fit.
[button]SHOP STEMS[/button] | [button]SHOP BIKES[/button]