


Endurance gravel races are often battles of attrition. To finish, you must endure suffering, not just in your legs or lungs, but throughout your entire body. Sitting on a bike for half a day or more hurts! If you’re racing on some of the roughest gravel in the country — like the chunky flint rock found at Unbound Gravel — it can really hurt.
Long gravel races always become a game of managing pain and discomfort. That’s why comfort and compliance were major focuses when I put together my gravel race bike for Unbound this year.
Comfortable doesn’t necessarily mean slow. Improving comfort on the bike allows you to stay fresher for longer and dedicate more energy to riding hard (and having fun). I’ve tried countless products over the years in my hunt for extra comfort, so let’s go over what comfort-oriented components I’ll use on my bike this year, and what you could use on yours.
[button]Shop Gravel Bikes[/button]
Wider Tires and Lower Pressures (and Maybe Inserts)
Comfort Improvement: ★★★★★
Cost: $$
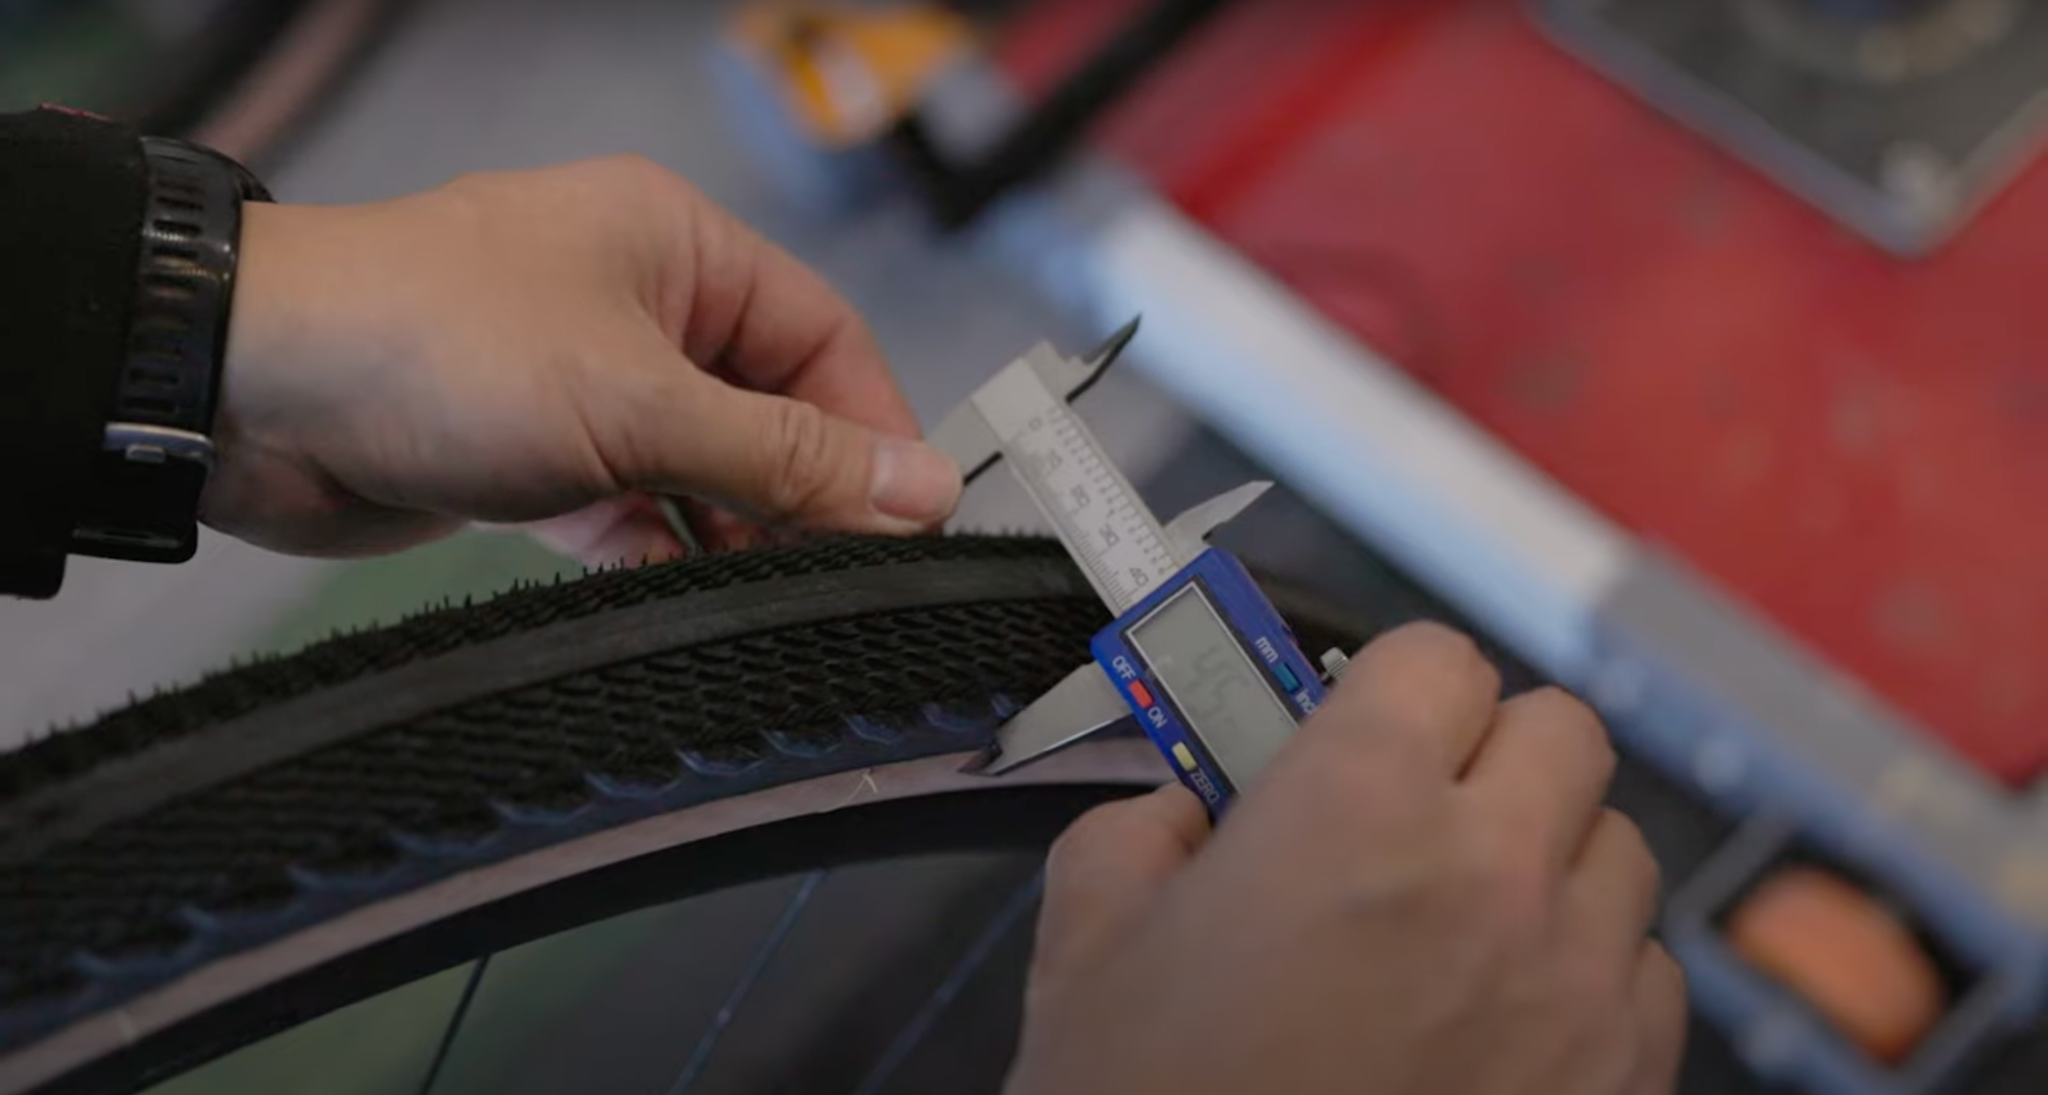
Before we get into some more interesting stuff, it’s worth saying that the component that affects how comfortable your bike will feel the most is your tires. I really don’t think it’s worth spending money on other components until your tires are dialed in.
Even the stiffest alloy gravel frames will feel pretty comfy if you get your tire setup dialed. In my earlier gravel tire post, I suggested running the widest tires your bike can fit. Wider tires have more air volume, which allows you to run lower tire pressures, which massively improves comfort. More supple tire construction will also positively affect comfort, but focusing on that can get complicated, so width is generally my main concern.
 Experiment with how low you can set your tire pressure before compromising the handling characteristics, efficiency, or puncture resistance (you shouldn’t feel your tire bottom out on the rim when hitting bumps or rocks).
[product-block handle="cushcore-gravel-cx-tire-insert-set"/]
If you're willing to deal with them, tire inserts are also a great comfort upgrade. They protect the rim from impacts and provide extra support for the tire sidewalls, which allows you to ride even lower tire pressures than normal. The foam also provides some extra damping on rough and chattery surfaces. The biggest downsides are the hassle of installation and a bit of extra rotating weight.
[newsletter]
Cushy Bar Tape
Comfort Improvement: ★★★
Cost: $
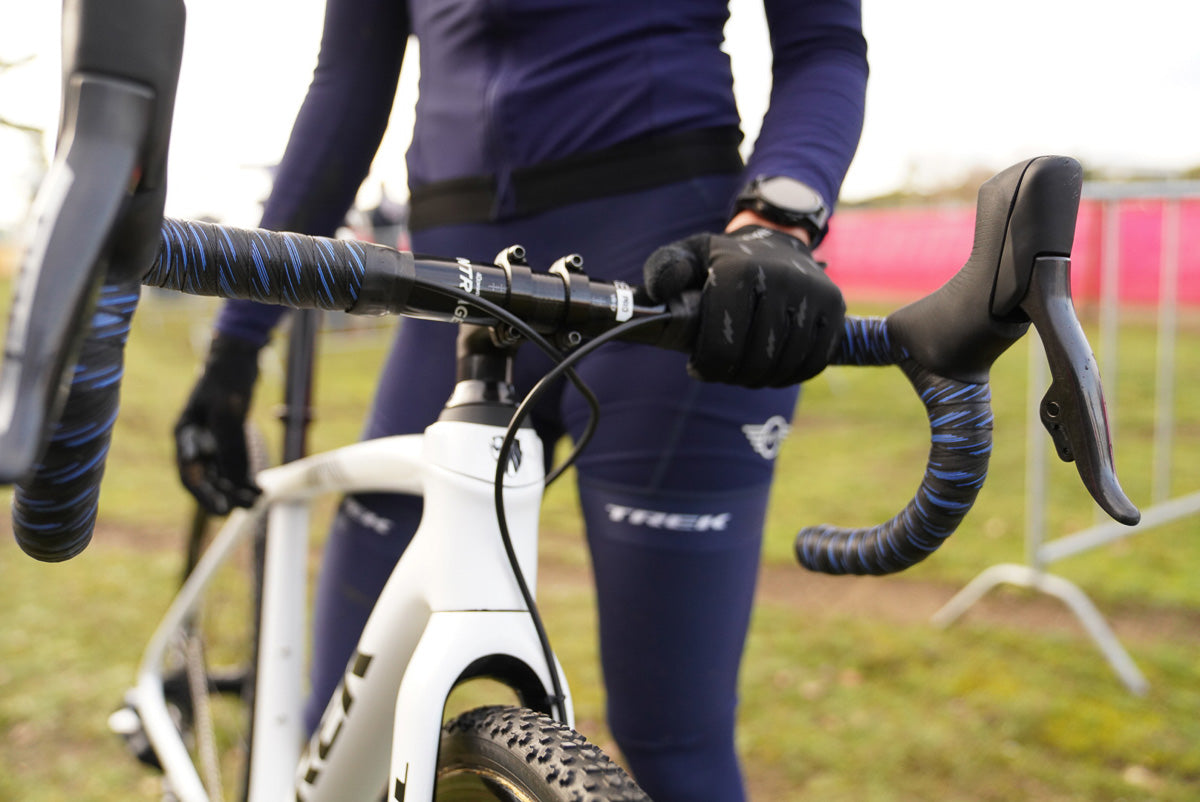
I always swap in some new and cushy bar tape before Unbound. If you switch to a thicker tape (3mm+), it will provide extra damping and comfort when you’re riding on the tops (most riders spend a lot of time here) or the drops of your handlebars. Priced around $40-50, high-quality bar tape is also the cheapest comfort upgrade you can add to your bike.
These are three bar tapes I recommend for maximum comfort:
[product-block handle="6575798354112-lizard-skins-dsp-3-2mm-bar-tape"/]
Lizard Skins is the bar tape that I’ve been using for nearly a decade and it’s the tape that I judge all others against. The 3.2mm version is very thick and cushy, and the surface of the tape is also extremely tacky, which I like a lot for off-road riding.
[product-block handle="7438014611648-silca-nastro-cuscino-bar-tape"/]
I love Silca products so when they released their own bar tape, I had to try it. The Nastro Cuscino tape might be the most comfortable for its thickness (they claim their 3.75mm tape is similar to 5mm tape in performance). I’ve been using the 2.5mm version on my road bike and it’s been super comfortable when I veer off onto unpaved roads. The tackiness is pretty good too, but I do think Lizard Skins is still much tackier.
[product-block handle="7111818641600-wolf-tooth-supple-bar-tape"/]
At 5mm thick, Wolf Tooth’s Supple bar tape is super thick and it’s what I recommend for riders looking for maximum cushion. The silicone texture is a bit different — similar to an ESI mountain bike grip — so it’s not very tacky. It also makes your handlebars look comically thick. But if you regularly suffer from hand discomfort, it’s likely the best option.
Compliant Carbon Handlebars
Comfort Improvement: ★★
Cost: $$$$
[product-block handle="fsa-k-wing-agx-carbon-handlebar"/]
[product-block handle="4829745840210-enve-g-series-gravel-handlebar-carbon-black"/]
[product-block handle="7444372029632-easton-ec90-alx-carbon-handlebar"/]
I prefer carbon handlebars because they damp out more vibration than alloy bars. Many gravel-specific carbon bars, like the are also designed to have slightly more flex to handle bumps and chatter.
I actually don’t think carbon bars do as much as bar tape or a suspension stem, but they do provide a marginal gain that I will happily chase. I also like that many carbon bars also have aero or comfort focused shapes. The biggest downside is the high cost. For a lot of riders, carbon bars won't be worth it compared to other upgrade options in this post.
The four gravel-focused handlebars that I’ve enjoyed using on my own bikes over the last few years are the FSA K-Wing AGX, the Lauf Smoothie, the ENVE G-Series Gravel, and the Easton EC90 ALX. I used the Lauf Smoothie in all my races last year, the Easton EC90 ALX for my sub-13 hour Unbound ride in 2022, and the G-Series for my races the year before that.
All four of these bars are quite comfortable. Of all the four, I think the Lauf Smoothie is the most comfortable. Unfortunately (for us), you’ll have to purchase it directly from Lauf if you want it. I think the other three are pretty even, though I might give the ENVE G-Series a slight edge.
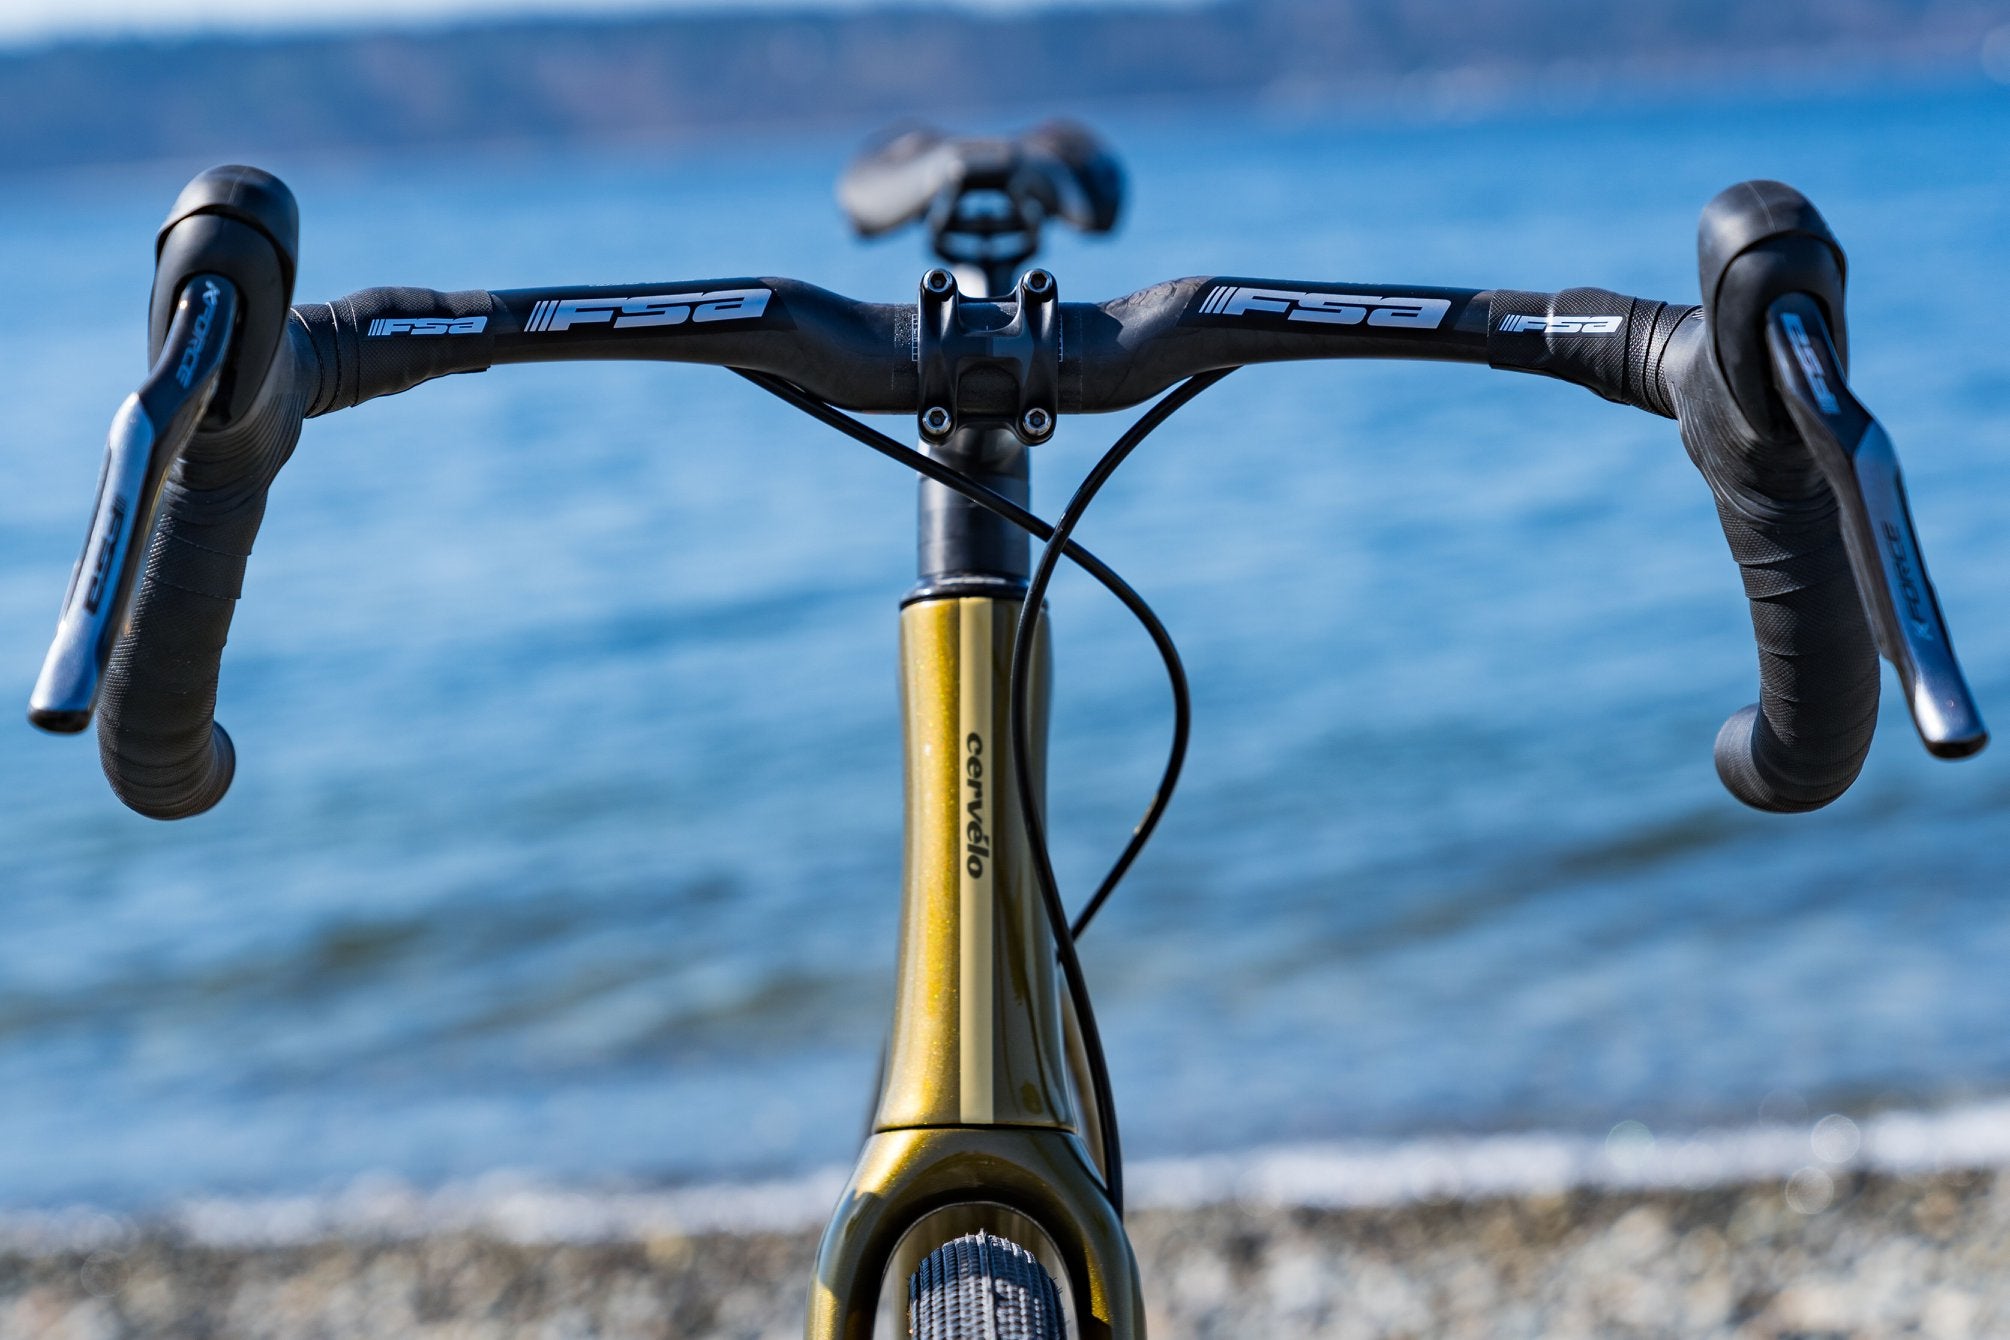
This year I’m running the FSA K-Wing AGX because I get along so well with the shape. The tops are raised up and have a slight forward and downward sweep which I find fits me really well. My biggest complaint with the Lauf Smoothie was that my palms didn’t get along with the rearward sweep of the tops.
The K-Wing bars also have a "scoop" behind where the shifters mount that provides a nice cradle for my forearms when I’m riding in an aero tuck on the hoods. It’s a position option that I've liked using a lot in lieu of aerobar extensions. There’s also a cutout on the outside of the drops that relieves some of the pressure I feel in my palm when riding in the drops for long periods of time.
Suspension Stems

Comfort Improvement: ★★★★
Cost: $$$
[product-block handle="7489109754048-cane-creek-eesilk-aluminum-stem-31-8mm-clamp-6-degree-black-w-o-lockout"/]
[product-block handle="7187136282816-cane-creek-eesilk-aluminum-stem-31-8mm-clamp-6-degree-black"/]
For riders who are really suffering with hand discomfort, soreness, or pain, a suspension stem is likely the ultimate solution. I consider the Cane Creek eeSilk stem to be the benchmark. It provides 20mm of travel controlled by an elastomer. It comes with elastomers of different firmness levels to suit your weight or riding preferences.
I’ll admit, I used to make fun of suspension stems. Intuitively, the idea of my bars moving seemed pretty weird. In practice though, I’ve found that it doesn't really feel how you imagine it to feel. You might be aware of your bars moving from time to time, but I've found that I stop noticing it pretty quickly during a ride. All that's left is a sensation of suppleness that feels really nice.
If you like, there is a version of the eeSilk with a “compliance switch” that lets you firm it up on the fly. It’s a nice feature, but when I was using this stem on my last gravel bike, I never touched it. I just left it fully open all the time. It might be a nice feature if you’re doing a lot of pavement or long and smooth climbs.
At $200-230, eeSilk stems are decently expensive, but still cheaper than a suspension fork and most high-end carbon handlebars. I think it’s more effective than carbon bars and about equal with a suspension fork. If I could only choose one of the three for cushioning my sensitive hands at Unbound, it’d be the suspension stem.
There are a couple things to note about the eeSilk stem:
- It only comes in 70mm, 80mm, 90mm, and 100mm lengths
- The stack height is 49mm, so if you’ve slammed your stem (like me) you might have trouble fitting it.
I’ve also ridden the eeSilk’s main competitor: the Redshift ShockStop stem. It kind of feels the same to me and I’m not sure I’d be able to tell the difference blindfolded. Maybe the Redshift looks a bit sleeker. I’m going to recommend the Cane Creek though, just because it’s the one we carry.
Gravel Suspension Forks
 Comfort Improvement: ★★★★
Cost: $$$$$
The Lauf Grit SL suspension fork is the main reason I bought my Lauf Seigla. It uses glass fiber leaf springs to provide 30mm of travel. It might look weird, but there are a few advantages. There’s no stiction, so the Lauf is the most sensitive gravel fork on small bumps, and it does a very good job muting out chatter and even washboard sections.
Without any complicated internals, the Lauf is also much lighter than a more traditional air fork and it requires no maintenance. It can also clear a massive 29x2.25” mountain bike tire if you want maximum cushion. Based on some wind tunnel testing, it’s also pretty aero.
I’m a big fan of my Grit SL fork. Because I have it, I don’t currently use an eeSilk suspension stem on my gravel bike. If pressed though, I'd say they’re about equal in terms of effectiveness.
The one area where the Lauf Grit SL will get outclassed by an air fork like the RockShox Rudy and Fox 32 Taper Cast is during harsh impacts. These forks don't have as much small bump sensitivity, but they are much better for smashing through potholes, bigger rocks, or singletrack. During those big hits, I tend to bottom the Lauf out.
Personally though, I think an air fork is a bit overkill for a course like Unbound Gravel, but overkill might be what some riders want.
Saddles With Special Foam
Comfort Improvement: ★★★
Cost: $$$$
[product-block handle="7454134272192-specialized-power-pro-mirror-saddle"/]
[product-block handle="7473336090816-specialized-romin-evo-pro-mirror-saddle"/]
Finding the right saddle shape is the most important thing when it comes to saddle comfort, but if you know that the Specialized Power or Romin saddle shape (or an analog from another brand) already works for you, then it could be worth trying a version with specialty foam.
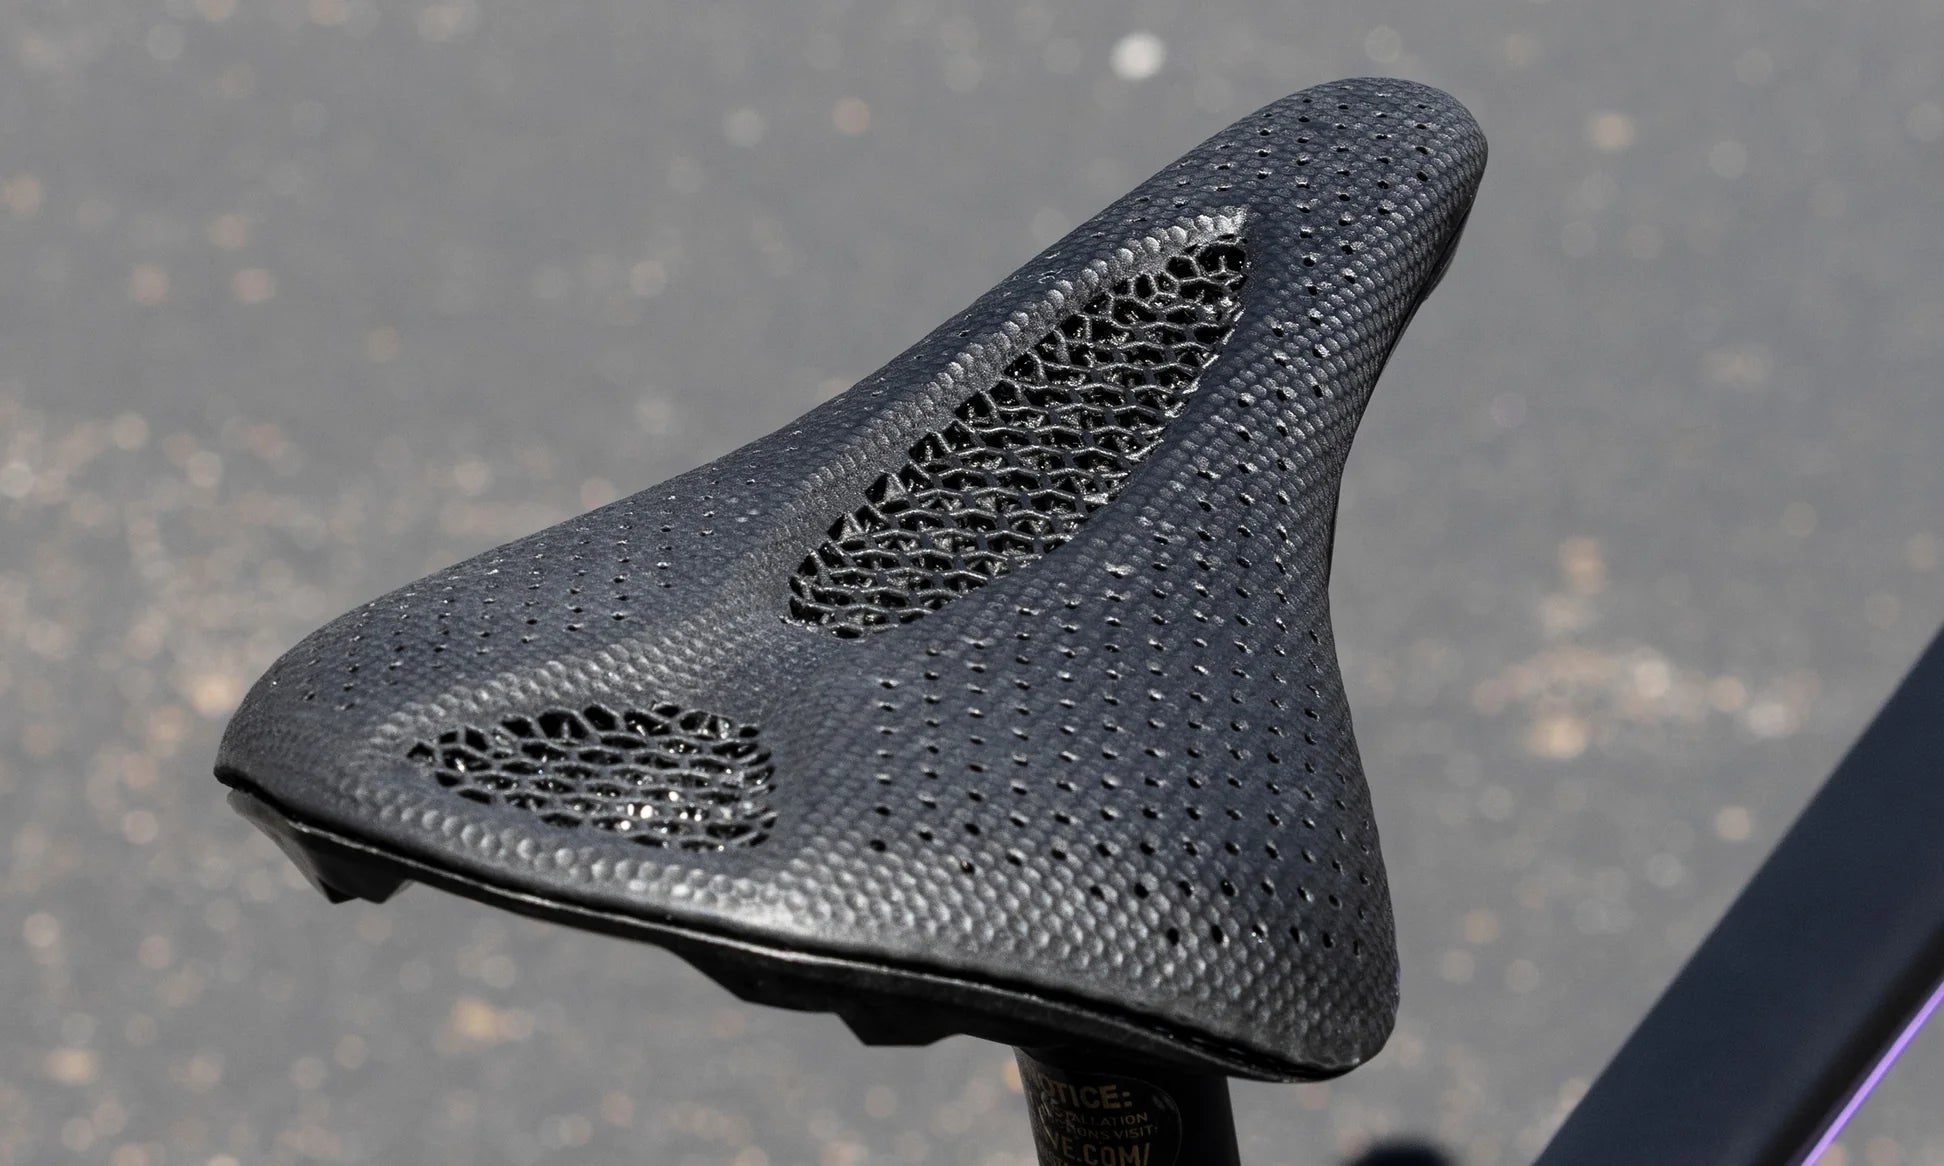
Personally, I find “snub-nose” style saddles like the Specialized Power work the best for me, especially since my riding position is on the more aggressive end of things. I've tried different versions and fell in love with the Specialized Power Mirror Pro saddle after testing it last year. Mirror saddles use 3D-printed foam. The foam is printed in a honeycomb lattice structure that allows for infinitely variable density changes across the saddle.
The thing I like most about these 3D-printed saddles is how soft the 3D-printed foam gets as it transitions to the nose of the saddle. The sit bone area remains firm for support, but it gets progressively softer around the cutout and at the tip of the saddle. I tend to scoot up on the saddle when doing hard efforts, and this drop in density reduces hot spots and numbness and relieves a lot of pressure. I liked it so much I bought 3 more so I have one on every bike.
The biggest downside is the cost. At $325 for the "mid-range" Pro version, it’s tough to justify buying one without riding it first to be sure it suits you. Fortunately, they tend to be easy to sell used.
[product-block handle="specialized-power-exprert-mirror-saddle"/]
There’s a cheaper Expert version, but it only uses the fancy 3D-printed honeycomb lattice foam at the sit bones, which is a bummer because the 3D-printed foam on the nose of the saddle was the main thing I liked.
[product-block handle="specialized-power-comp-mimic-saddle"/]
[product-block handle="specialized-romin-evo-comp-mimic-saddle"/]
[product-block handle="specialized-phenom-comp-mimic-saddle"/]
If you want that change in density and a soft nose, I consider the Specialized Mimic saddles to be a good alternative. It doesn’t have a smooth transition like the 3D printed foam, but it uses a lower density foam on the nose to relieve pressure. It’s marketed as a women’s saddle, but men can definitely use it too. I used one extensively before I got my Mirror saddles and it worked really well for me.
Carbon Seatposts
Comfort Improvement: ★★
Cost: $$
[product-block handle="fsa-sl-k-seatpost-27-2-x-400mm-carbon-20mm-setback-black"/]
If you have an alloy seatpost, you could consider switching to a carbon seatpost. Just like carbon handlebars, carbon seatposts damp out more vibration and provide a bit more flex for comfort over bumpy terrain. The post I currently use is the FSA SL-K. It’s priced really well and has enough flex to take the edge off of rough roads.

Another post I’ve liked a lot in the past is the Ergon CF AllRoad Pro seatpost. It’s a split design that works like a leaf spring to provide extra flex. I rode an older version of this post call the VCLS on a Canyon Grail, and was really impressed with the compliance. It’s also an elegant design that doesn’t add much weight.
The only real downside is that the initial setup is quite annoying because adjusting your saddle angle requires removing the post from the bike. Mine also started creaking after a ton of mud got between the two halves, but those are minor issues. Unfortunately, we don’t carry it, but I’m trying to change that! I hope to test the new version soon.
Suspension Seatposts
Comfort Improvement: ★★★★
Cost: $$$
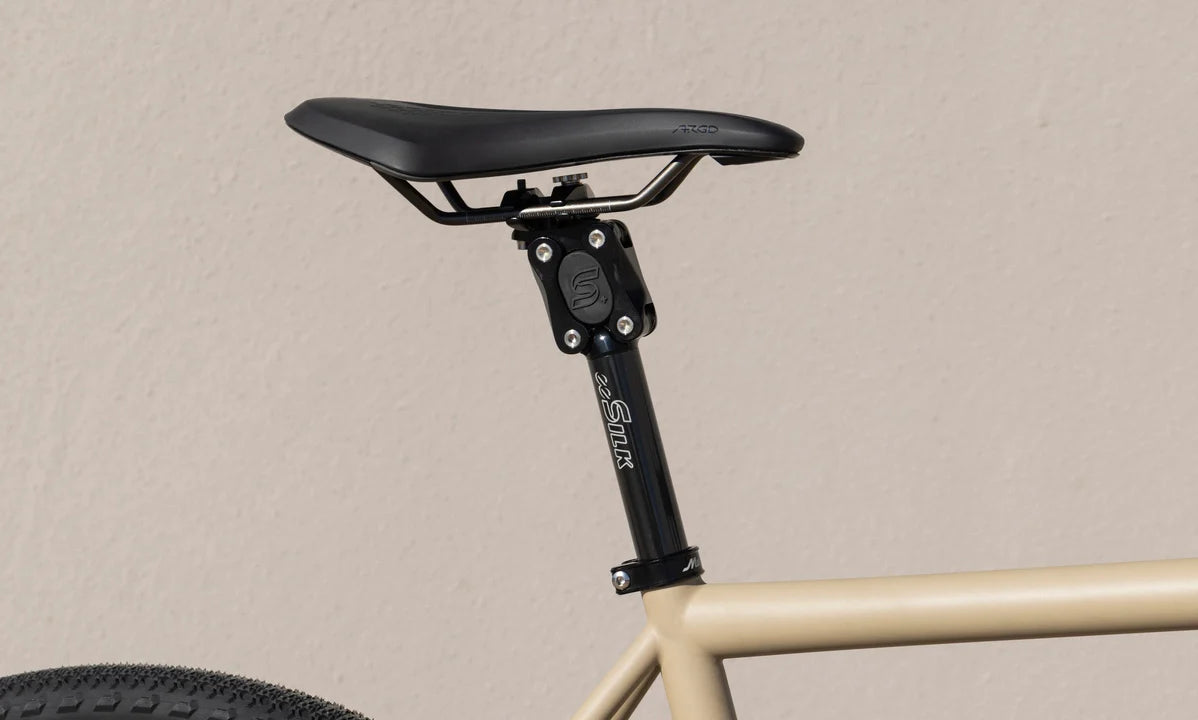
[product-block handle="6968289394880-cane-creek-eesilk-suspension-seatpost-387mm-alloy-12mm-setback-black"/]
I tested the Cane Creek eeSilk+ post expecting to hate it, but after my first ride on a rough singletrack section, I quickly changed my tune. A suspension seatpost isn’t exactly like rear suspension on a MTB, but the feeling is surprisingly similar. You don’t really feel your butt bounce up and down. Rather, it feels like the bike “floats” beneath you while riding over choppy terrain. This adds a lot of comfort to the rear end, but it also makes it easier to stay on the gas through the rough stuff and stay off the brakes in corners.
The post did occasionally feel “bouncy” when pedaling at high cadences (~110+ rpm) on smoother terrain. I’d notice the bounce when putting in a hard effort to chase onto the wheel of another rider. This feeling might annoy some riders, but I don’t feel like I lost much power in these situations. Overall, I felt the improvements to comfort and control the eeSilk+ provided greatly outweighed the rare times I noticed myself bouncing.
 I rode the eeSilk+, which has 35mm of travel, but there is also a standard eeSilk with 20mm fo travel. I've only ridden the "+" version and was happy enough with it that I don't have interest in riding the shorter travel version.
Like the eeSilk stem, you can swap in different elastomers to make it firmer or softer to suit your weight or riding preferences. It comes in alloy and carbon versions. The alloy version is $220, and it’s the one I’d choose. The more expensive carbon option is only worth it to those counting grams.
To me, there's one big downside (other than a bit of extra weight). The eeSilk+ only comes in a 12mm setback option, which splits the difference between 0mm and 20-25mm setback posts. This should work for the vast majority of riders, but it made me unable to get my desired position on my current bike. For now, I’m still running the FSA SL-K carbon post but I may consider getting the Ergon CF AllRoad Pro because it is available in a 0mm setback option.
Don’t Forget About Your Bike Fit
 Comfort Improvement: ★★★★
Cost: Free? - $$$$
The last thing I want to touch on is bike fit. Hopefully, your bike is the right size for you. But even if it is, getting a bike to fit you perfectly usually requires adjusting or swapping out key components like the stem or saddle.
It’s possible to dial in a comfortable bike fit on your own. Here’s my one quick tip specifically for endurance gravel fits. The biggest goal of my bike fit is to find a riding position where I have minimal weight on my hands. Keeping my weight off my hands prevents pain and numbness and it keeps my arms from getting tired from holding up my torso, which means I have more energy to dedicate to my legs.
Keeping weight off my hands doesn't mean I sit bolt upright on my bike though. I run my cockpit fairly long and low, and it’s still comfortable because my trunk is balanced and my core is doing most of the work of holding me in my riding position.
This all starts with my saddle setback. I don’t pay any attention to knee over pedal spindle or any similar “rules.” My only goal with setback is to find a position where my trunk is balanced. I know I’ve found a good position when I’m able to let go of my bars while pedaling without lifting my upper body or scooting forward or backward on the saddle. At this balance point, your core can hold you in position without much help from your arms.
Where you set your saddle will depend a lot on your torso length. Once I find the right position on a bike, I tinker with the handlebar position using different stem lengths and heights to further minimize weight and pressure on my hands. Even though my bars look low, I’ve found that my current position is super comfortable on long rides.
This saddle setback technique is part of a fit philosophy developed by the legendary Steve Hogg and he goes into much more depth in his own post on the subject. If you’re trying to dial in your bike fit at home, I recommend checking out Steve's website for more tips, because there’s a lot of gold on there.
Ultimately, my opinion of bike fitting is that it’s an art as much as a science. You can definitely figure stuff out on your own. But, if you’re consistently struggling with pain, numbness, or other issues and you can’t seem to resolve, then it may be worth enlisting the help of a professional who can provide experience, technology, or even just an outside perspective.
I got a bike fit through Retul before I did the Unbound 200 for the first time and my fitter was able to help me address some persistent knee pain by increasing my Q-factor with long spindle pedals and spacers. He was able to see the issue quickly with motion tracking tech, and I’m not sure it’s something I would have figured out on my own. In this instance, paying $300-500 dollars for a Retul fit was worth it just to fix my aching knee.
[button]Shop Gravel Bikes[/button]


